
Steve Smith recently looked at jQuery Mobile and Backbone using a simple application that allowed a user to track their daily exercise. I’m going to duplicate his example using Sencha Touch.
Sencha Touch is a framework for building mobile applications using HTML5, CSS3, and Javascript. This example uses the Developer Preview of Sencha Touch 2.0.
Here’s what our project looks like.
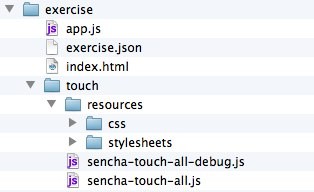
A Sencha Touch application is loaded from an HTML page. The HTML loads CSS and Javascript. Sencha Touch applications typically build the UI using Javascript so the index.html is very simple.
The touch/ directory contains the Sencha Javascript and CSS from the SDK. Since this is an example, all if the application code is in one file, app.js. Larger applications will break the code up into more files and directories.
Sencha Application
Sencha Touch has a global namespace, Ext, that holds the framework and application code. The Ext.application helper function takes a configuration object where we define our application.
Ext.application({
    launch: function() {
        // define our app here
    }
});
Model
We extend Ext.data.Model to define a Model object describing our data. The data is supplied by the server in a JSON file, exercise.json. The fields in the model, match the properties in the JSON file.
Ext.define("Activity", {
    extend: "Ext.data.Model",
    fields: [
        {name: 'id', type: 'int'},
        {name: 'date', type: 'date'},
        {name: 'type', type: 'string'},
        {name: 'distance', type: 'string'},
        {name: 'minutes', type: 'int'},
        {name: 'comments', type: 'string'}
    ]
});
/* exercise.json */
[
    {
        "id":3,
        "date": "12/10/2011",
        "type": "Walk",
        "distance": "2.5 miles",
        "comments": "Shouldn't have taken the dog",
        "minutes": 45
    },
    ...
]
Store
A Store is used to load and manage data. The Activity model we created is associated with the store. We define a proxy to load the JSON data from a URL. Finally, we tell the store to automatically load the data when the store is created.
var store = Ext.create('Ext.data.Store', {
    storeId: "activityStore",
    model: "Activity",
    proxy: {
        type: 'ajax',
        url: 'exercise.json'
    },
    autoLoad: true
});
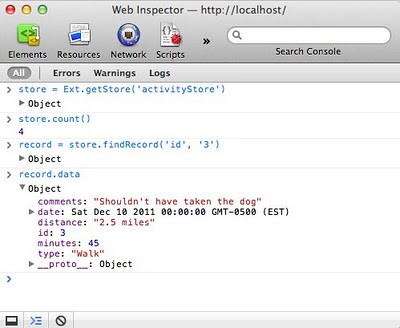
Once the store is created, we can use the Javascript console to interact with the data.
User Interface
Now we need to display the data. A NavigationView shows a navigation bar and holds the List component. The list is defined in the code using the object literal syntax. The data store we created is assigned to the list so it can display the records. The itemTmp property defines how to display each item of data. This can be a template or a string.
var view = Ext.create("Ext.NavigationView", {
    fullscreen: true,
    items: [
        {
            xtype: 'list',
            title: 'Activities',
            itemTpl: '{date} - {type}',
            store: store
        }
    ]
});
Unformatted Date
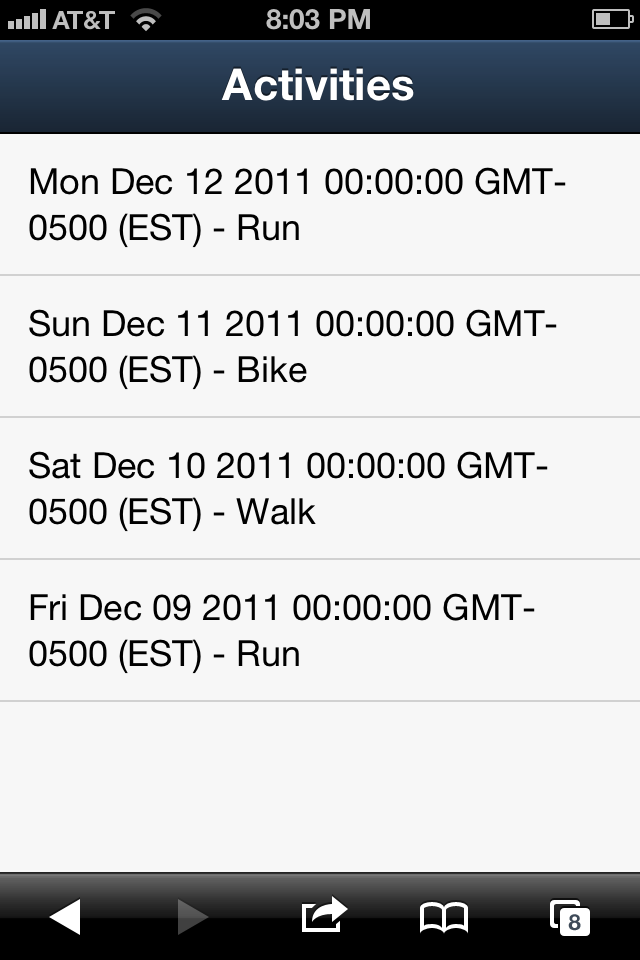
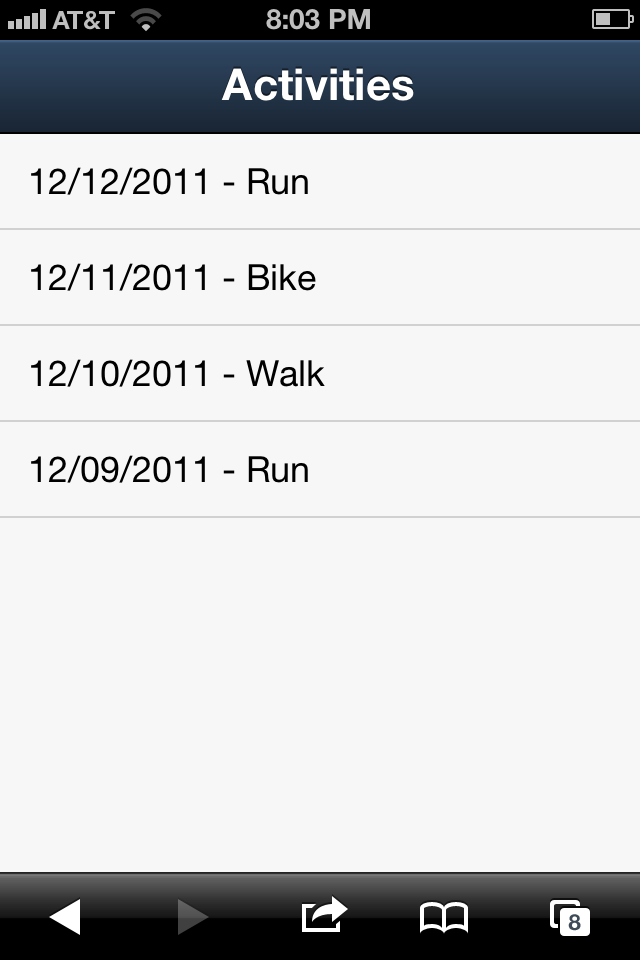
This works but the date doesn’t display very well. A format can be added to the template definition. {date} in the itemTpl becomes {date:date("m/d/Y")}.
var view = Ext.create("Ext.NavigationView", {
    fullscreen: true,
    items: [
        {
            xtype: 'list',
            title: 'Activities',
            itemTpl: '{date:date("m/d/Y")} - {type}',
            store: store
        }
    ]
});
Formatted Date
Adding New Data
Let’s add a button to the header to add a new row of data.
view.getNavigationBar().add({
    xtype: 'button',
    text: 'Add',
    align: 'right',
    handler: addNewRow
});
The handler property of the button defines the function that is called whenever the button is pressed. Eventually we need a form so the user can add new data. For now, let’s define a function addNewRow that will create a new row and add it to the store.
var addNewRow = function() {
    // future versions should display a form for adding a record
    var fakeRecord = Ext.create('Activity', {
        date: new Date(),
        type: 'Walk',
        distance: '2 miles',
        minutes: 28,
        comments: 'Auto generated record.'
    });
    store.add(fakeRecord);
};
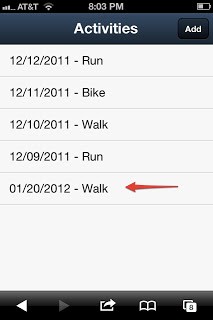
Now when the button is pressed a new row appears in the UI. The store notifies the list, so rows appear as records are added to the store.
Add Button

New Row
That should be enough to get you started. In future posts we’ll look at features like sorting, detail views, navigation, and forms. The source code is available on github.