
In this post we’ll be setting up Amazon Web Services (AWS) to handle the delivery of push notifications to the Apple Push Notification Service (APNS) and eventually to your users. In order to use AWS to push notifications to your users devices you’ll configure three different AWS Services; Cognito, Identity and Access Management (IAM), and Simple Notification Service (SNS).
Cognito for authentication of API calls
From the AWS console, launch the Cognito service. From there, select Manage Identity Pools.

This brings you to the Create new Identity pool page. Enter your pool name and select Enable access to unauthenticated identities then select Create Pool.

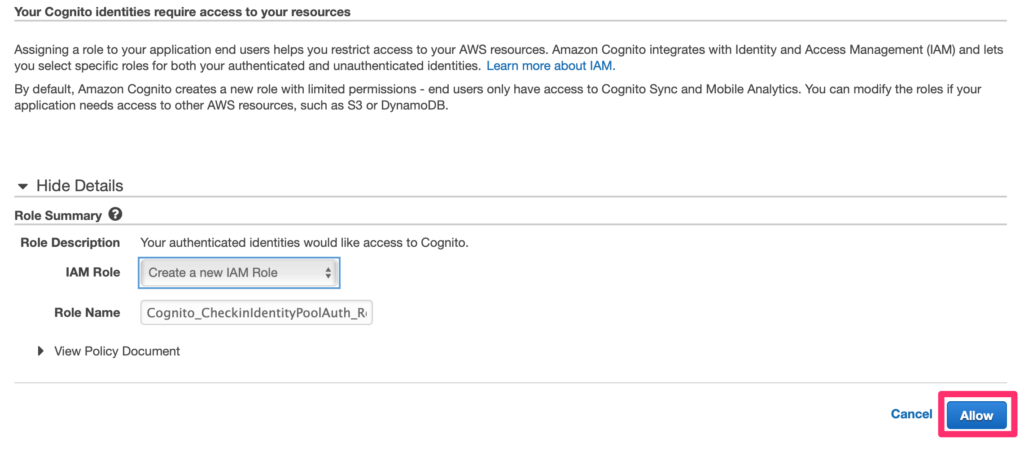
This brings you to the Your Cognito identities require access to your resources page. Select Allow.
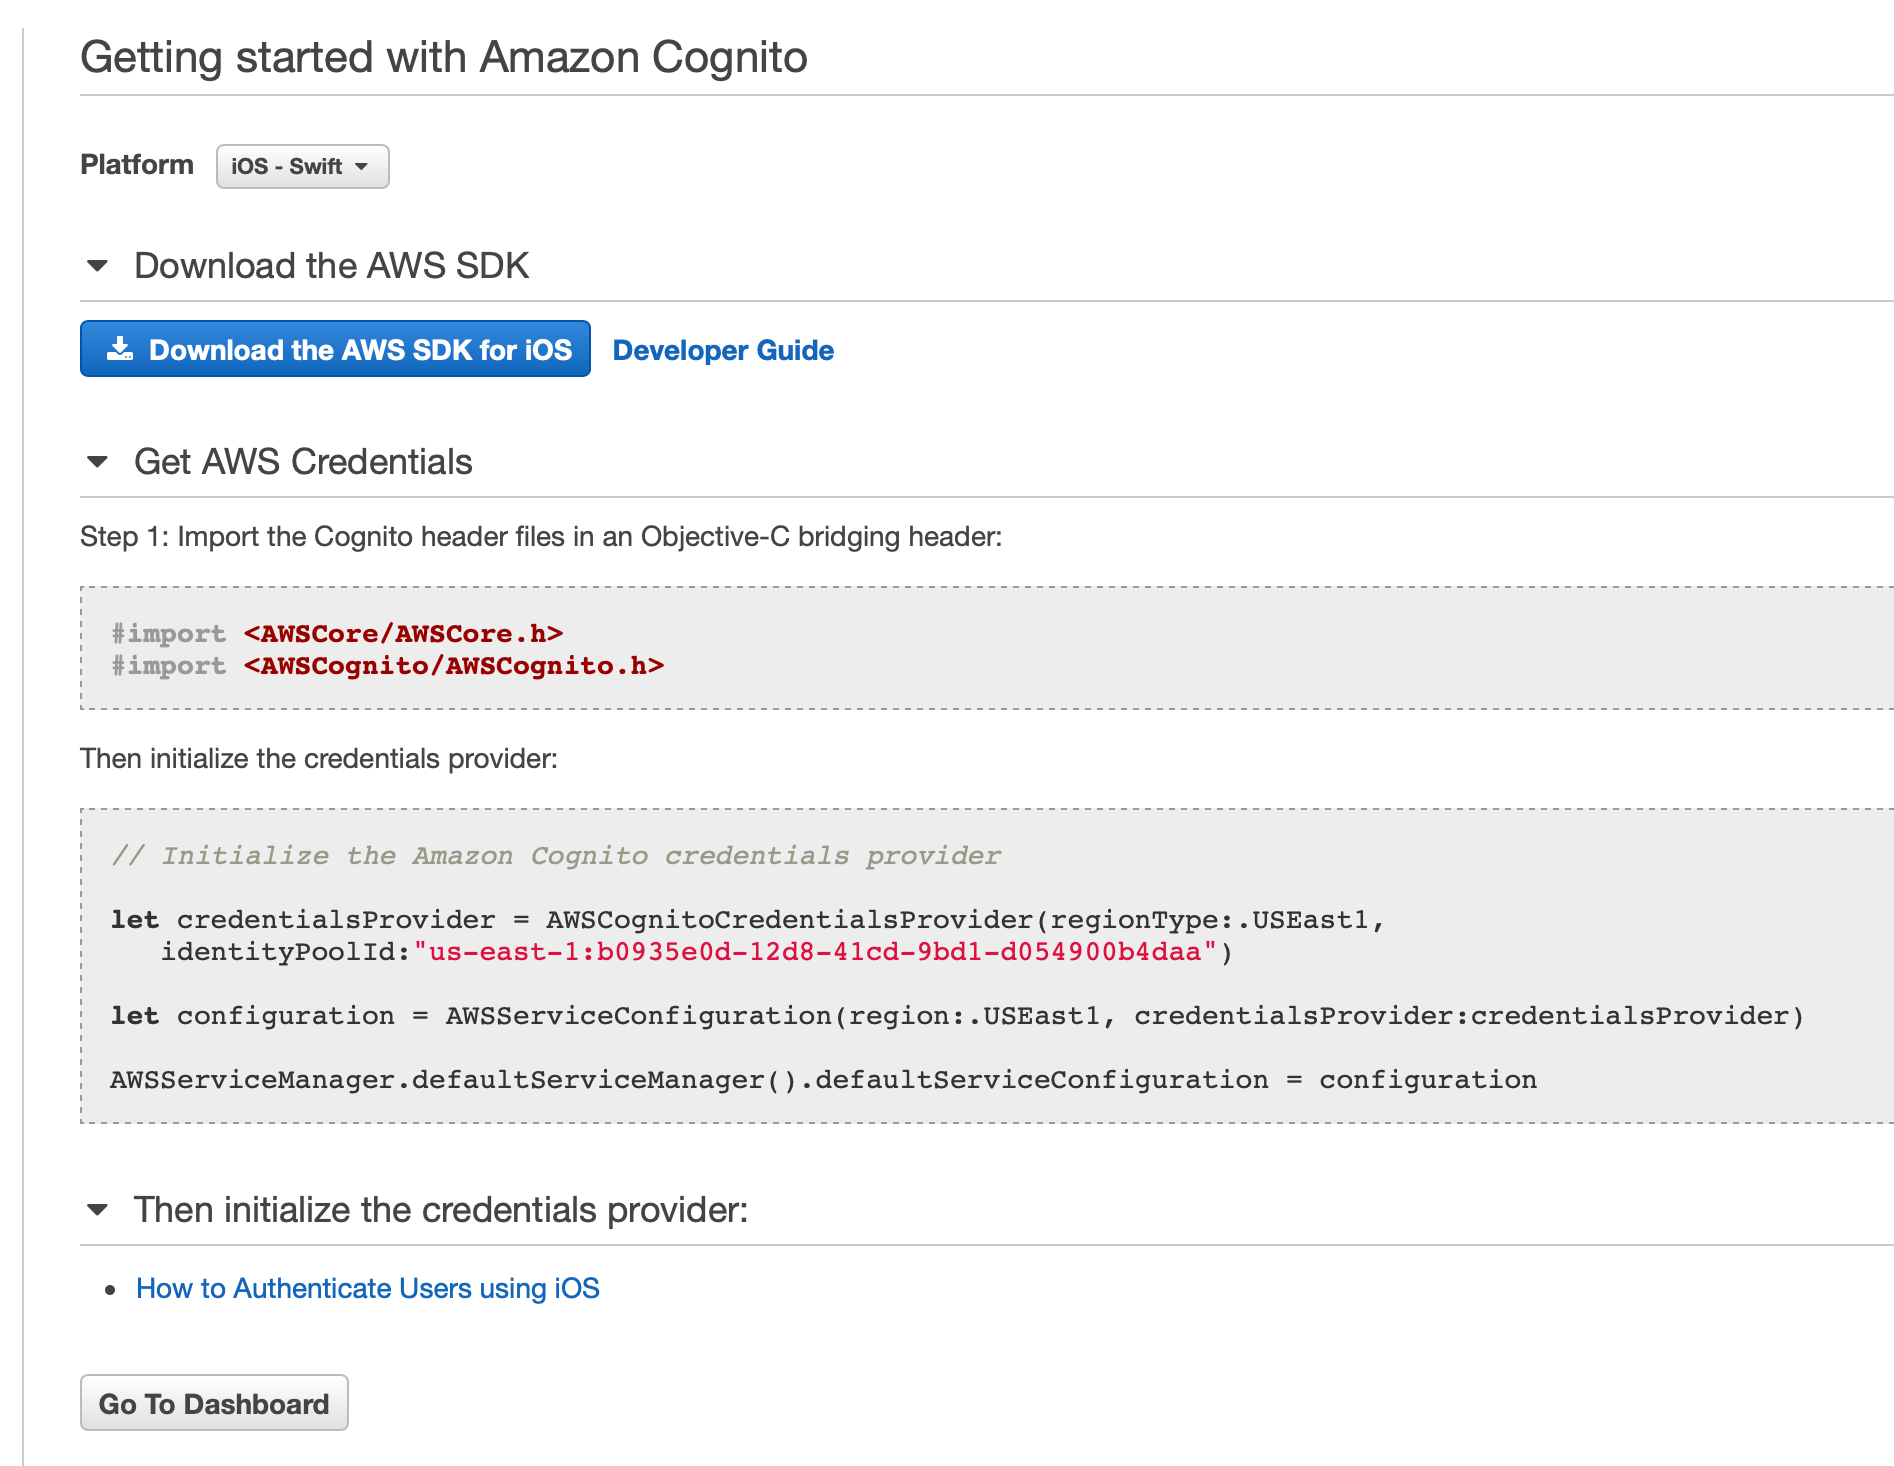
This brings you to the Getting started with Amazon Cognito page. From here you can select your language platform to get sample code for initializing and configuing Cognito. In this example we are using Swift. The AWS SDK for iOS is written in Objective C and therefore needs to be bridged. The IdentityPoolId shown here in red will be used to make non-authenticated API calls to the Simple Notification Service (SNS) application you will create shortly.
Next you’ll need to install the AWS SDK. There are several ways to install it, I prefer using Carthage. You can use what ever method you are comfortable with.
Create a method in your app delegate to initialize Cognito.
func configureCognito() {
    let credentialsProvider =AWSCognitoCredentialsProvider(regionType: AWSRegionType.USEast1, identityPoolId: "us-east-1:2d7c71e7-1ef0-5638-971f-111bd86fc29b")
    let defaultServiceConfiguration =AWSServiceConfiguration(region: AWSRegionType.USEast1, credentialsProvider: credentialsProvider)
    AWSServiceManager.default()?.defaultServiceConfiguration = defaultServiceConfiguration
}
Call that method from applicationDidFinishLaunchingWithOptions before the return true.
 self.configureCognito()
 return true
Identity and Access Management (IAM)
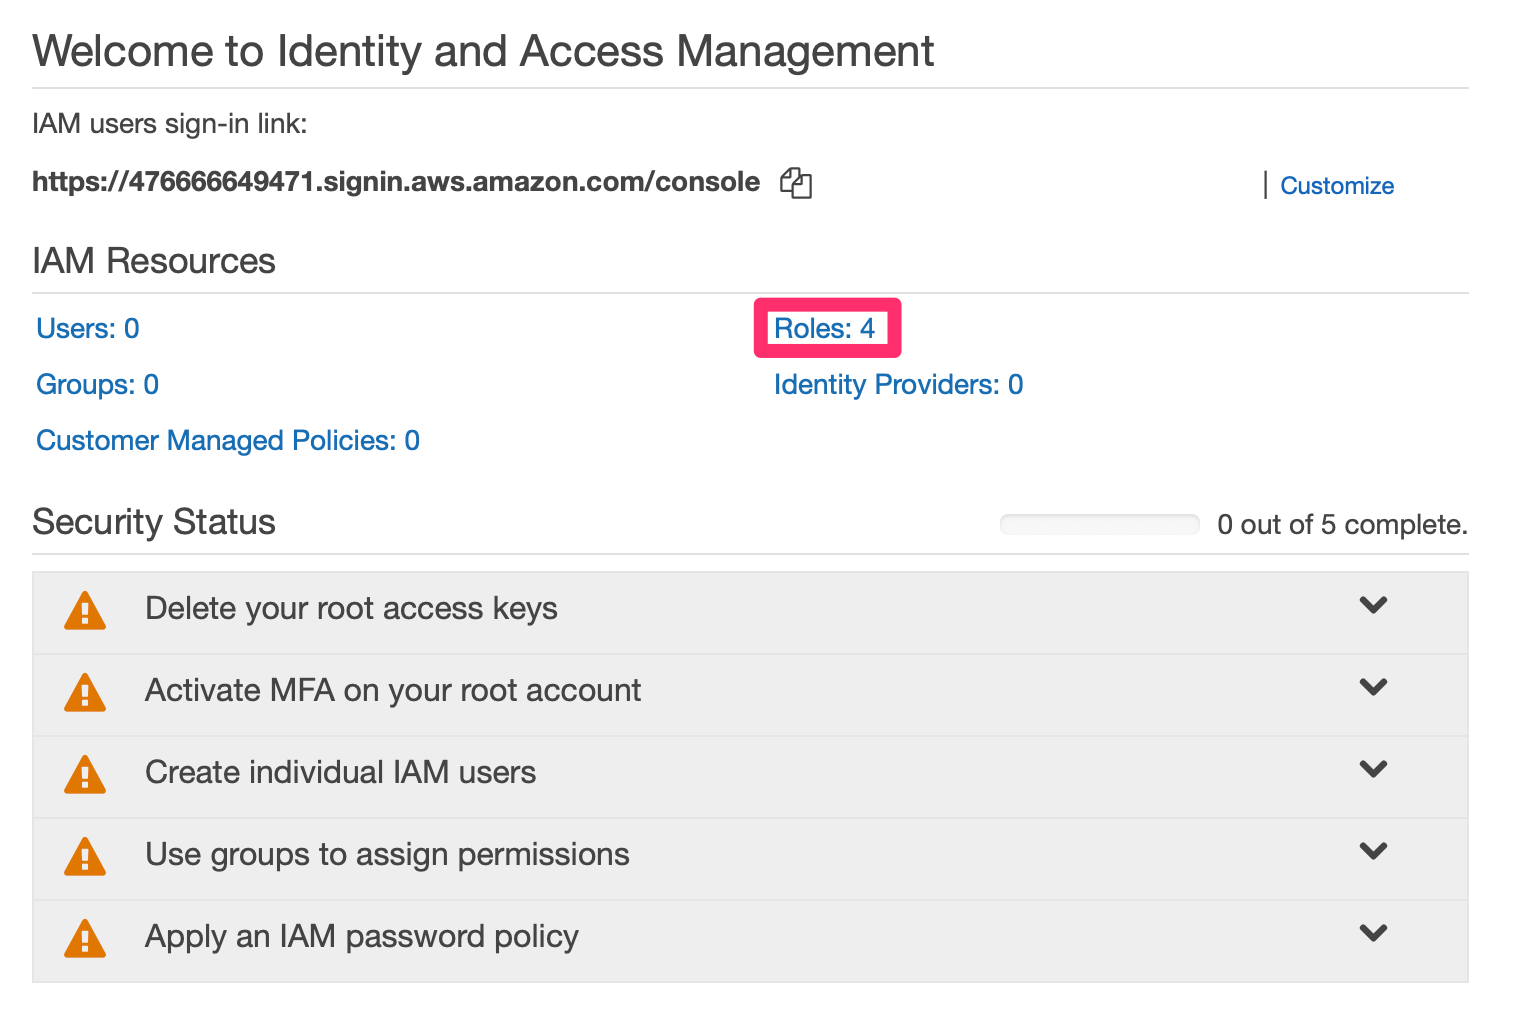
Now over to IAM to add permission policies to the unauthorized role. Select IAM from the AWS Services menu then select Roles.
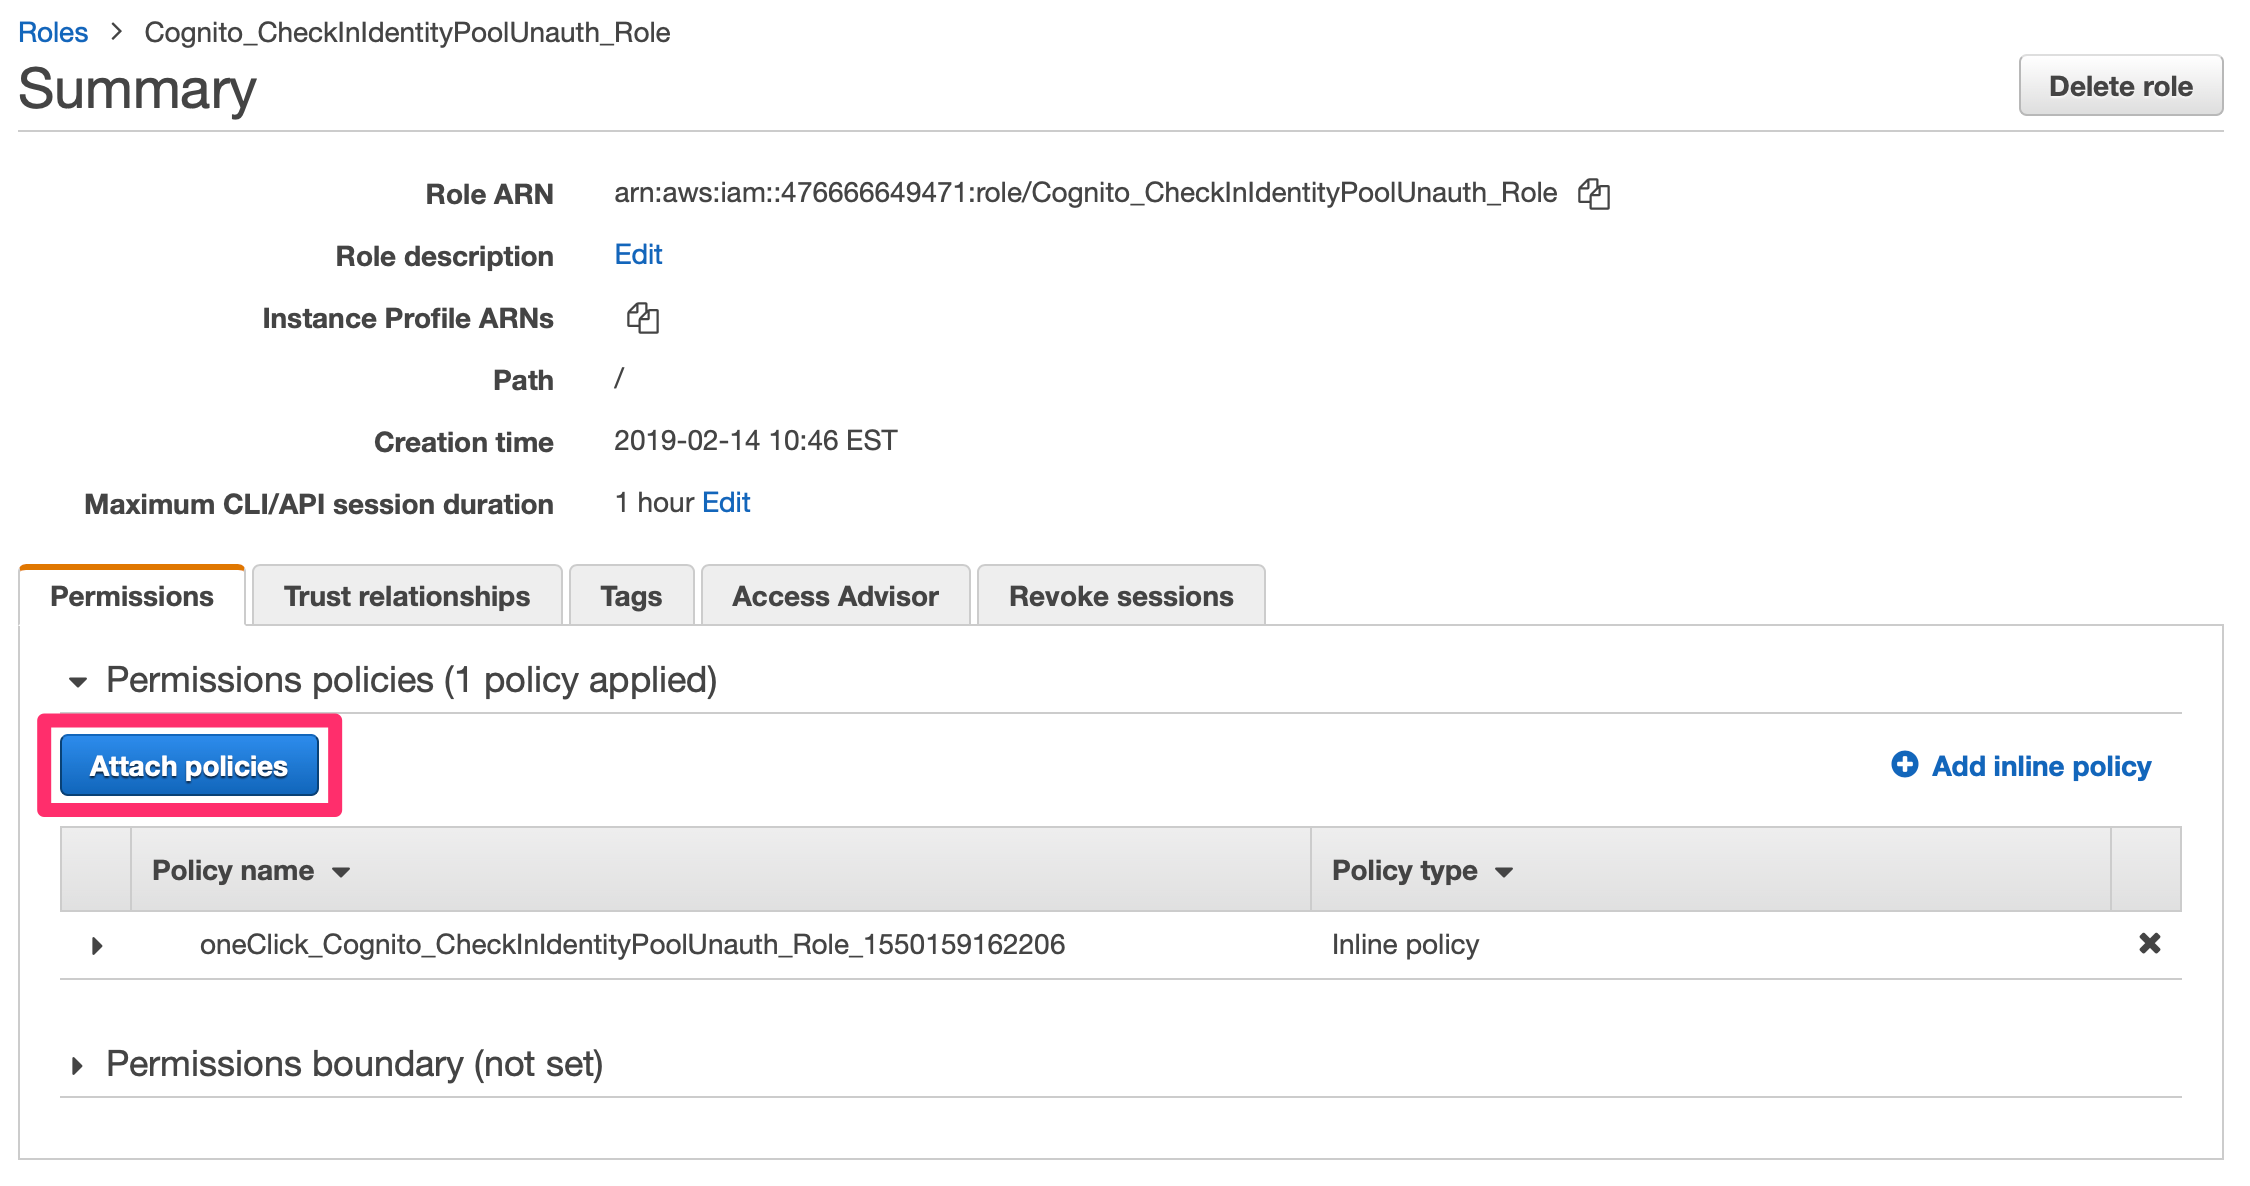
Find your Cognito Unauthorizied role in the list and select it. Select Attach policies.
In the search box type SNS. Select the checkbox next to AmazonSNSFullAccess and select Attach policy.
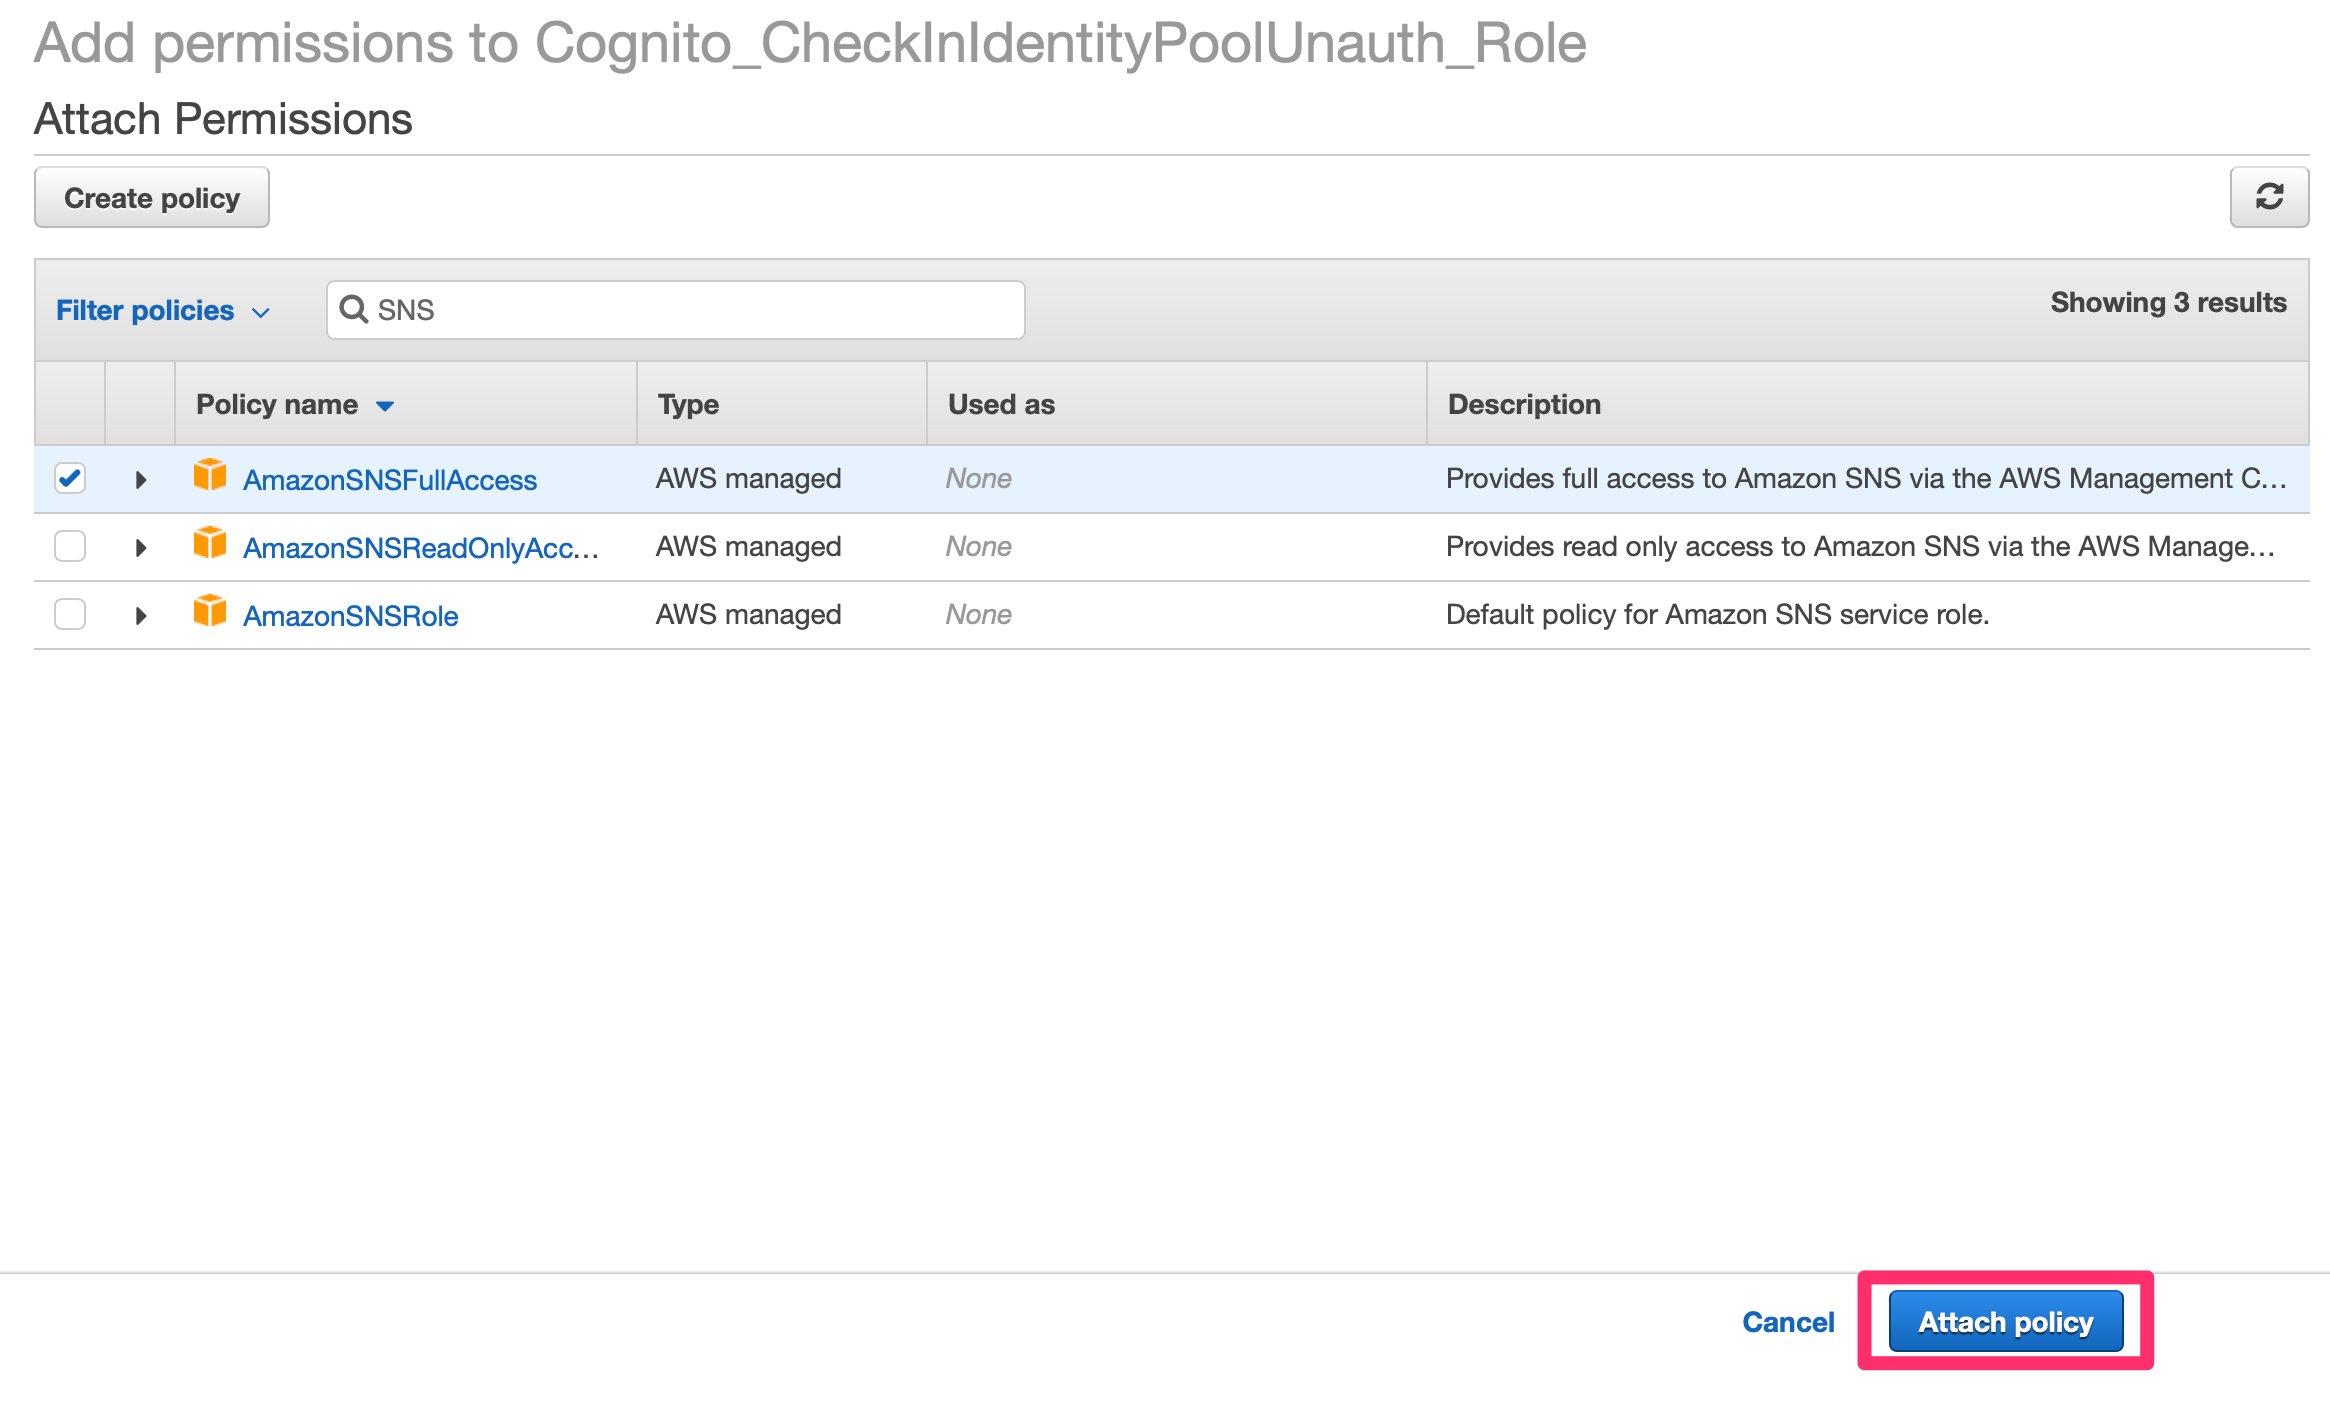
Note that giving the unauthorized role full access to SNS is probably not a good idea. After you get things working you should apply a more restrictive policy.
Simple Notification Service (SNS)
And Finally to the SNS setup. We will be creating via the AWS console or from our iOS application the following:
- Platform Application
- Platform Application Endpoint
- Subscription
- Topic
Messages are published to a Topic which has subscribers and subscribers have Endpoints.
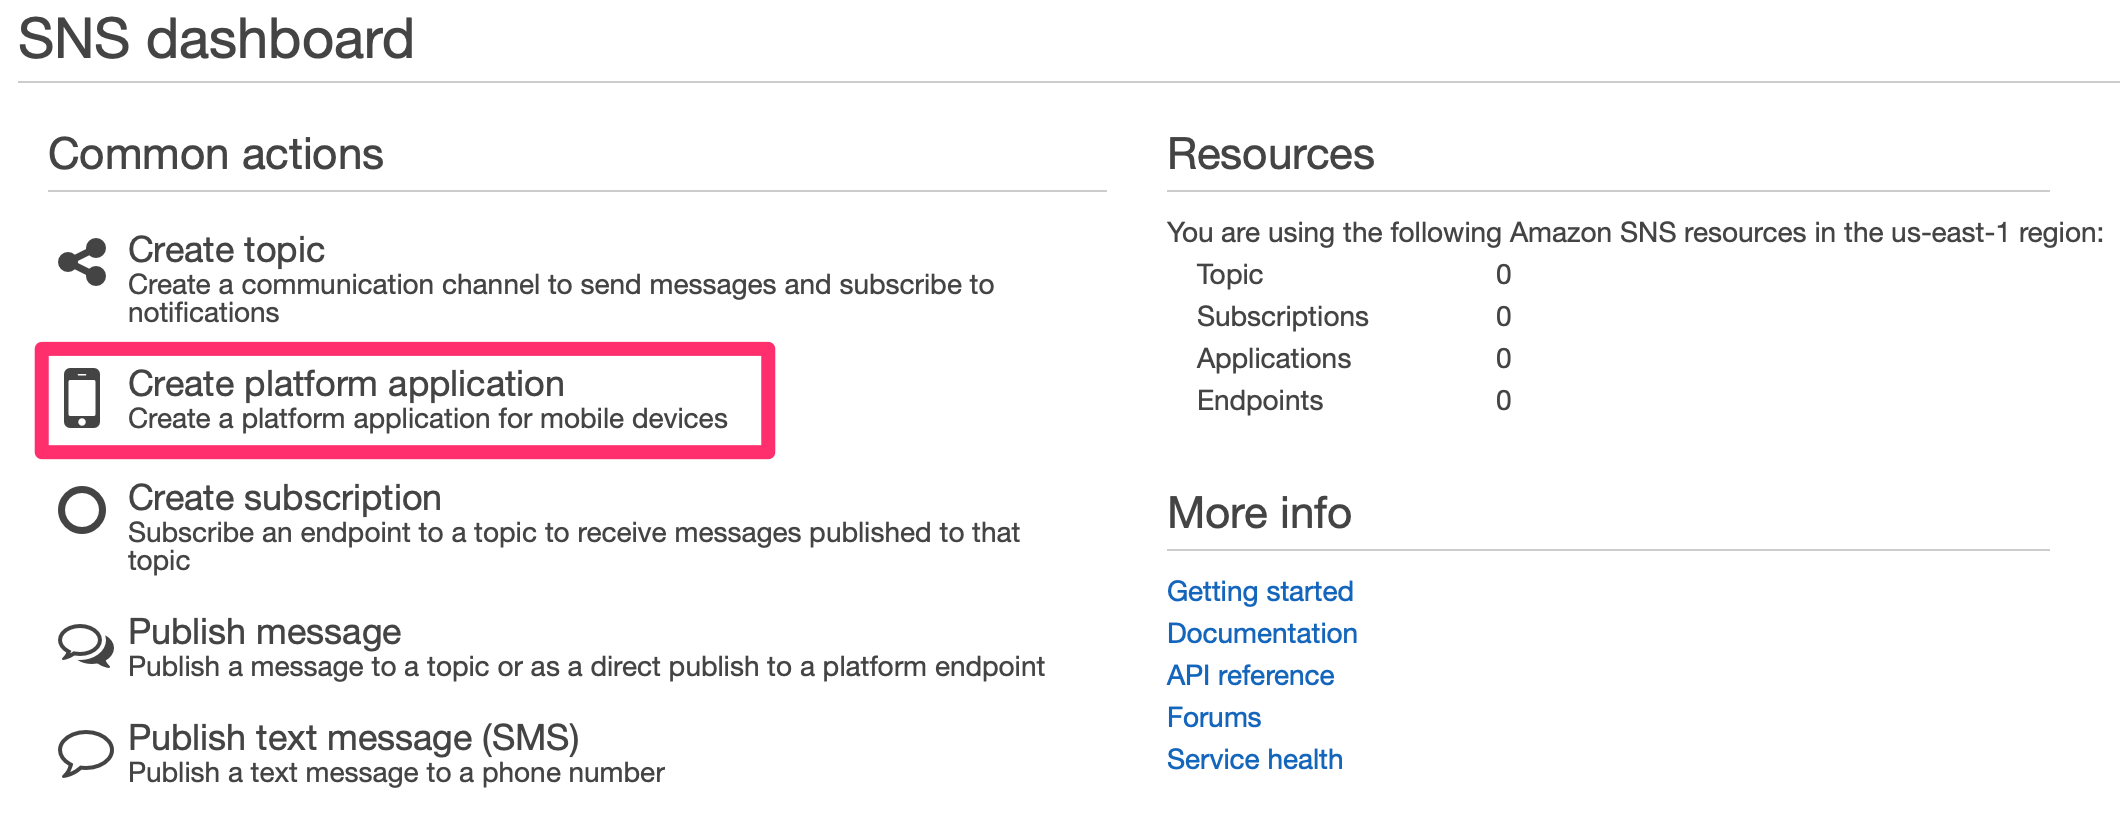
Select SNS from the AWS services menu. Select Create platform application.
Enter your application name, select Apple production. There are many tutorials describing how to generate Push Certificates and export them from the Keychain so I won’t go into that here. So, after exporting your Production Push Cert as a .p12, select Choose file and pick the exported .p12. Enter your export password and select Load credentials from file and finally, select Create platform application.
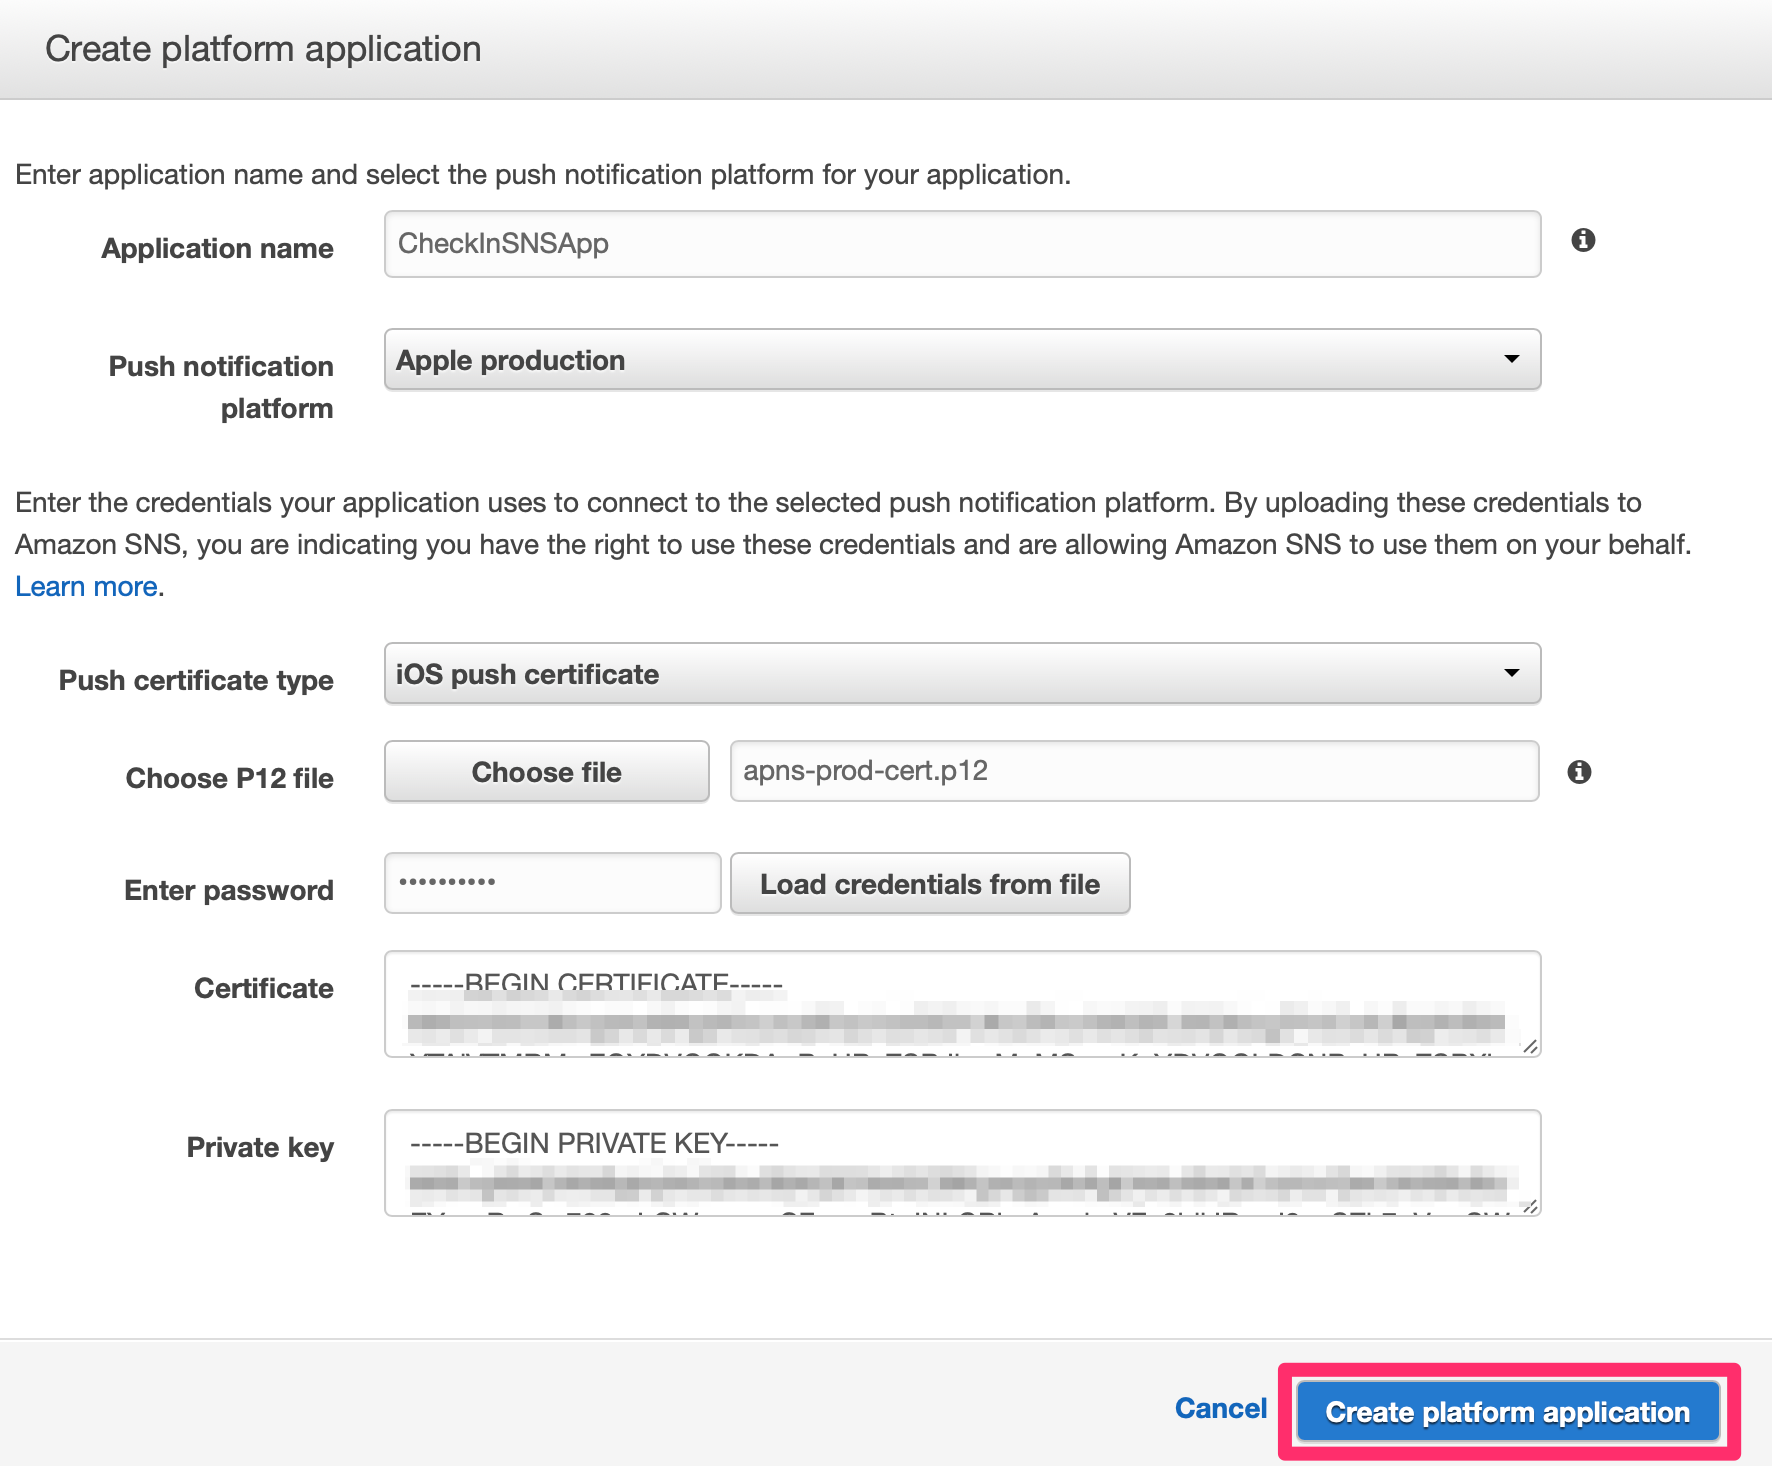
On the application details screen there will be an Application ARN, copy that identifier and insert it as a variable in your app delegate.

let SNSApplicationARN = "arn:aws:sns:us-east-1:751064731489:app/APNS/CheckInSNSApp"
Import AWSSNS into your app delegate.
import AWSSNS
Add AWS modules to your bridging header.
#import<AWSCore/AWSCore.h>
#import<AWSCognito/AWSCognito.h>
Next we’re going to create our Topic. From the SNS console select Topics then select Create new topic.
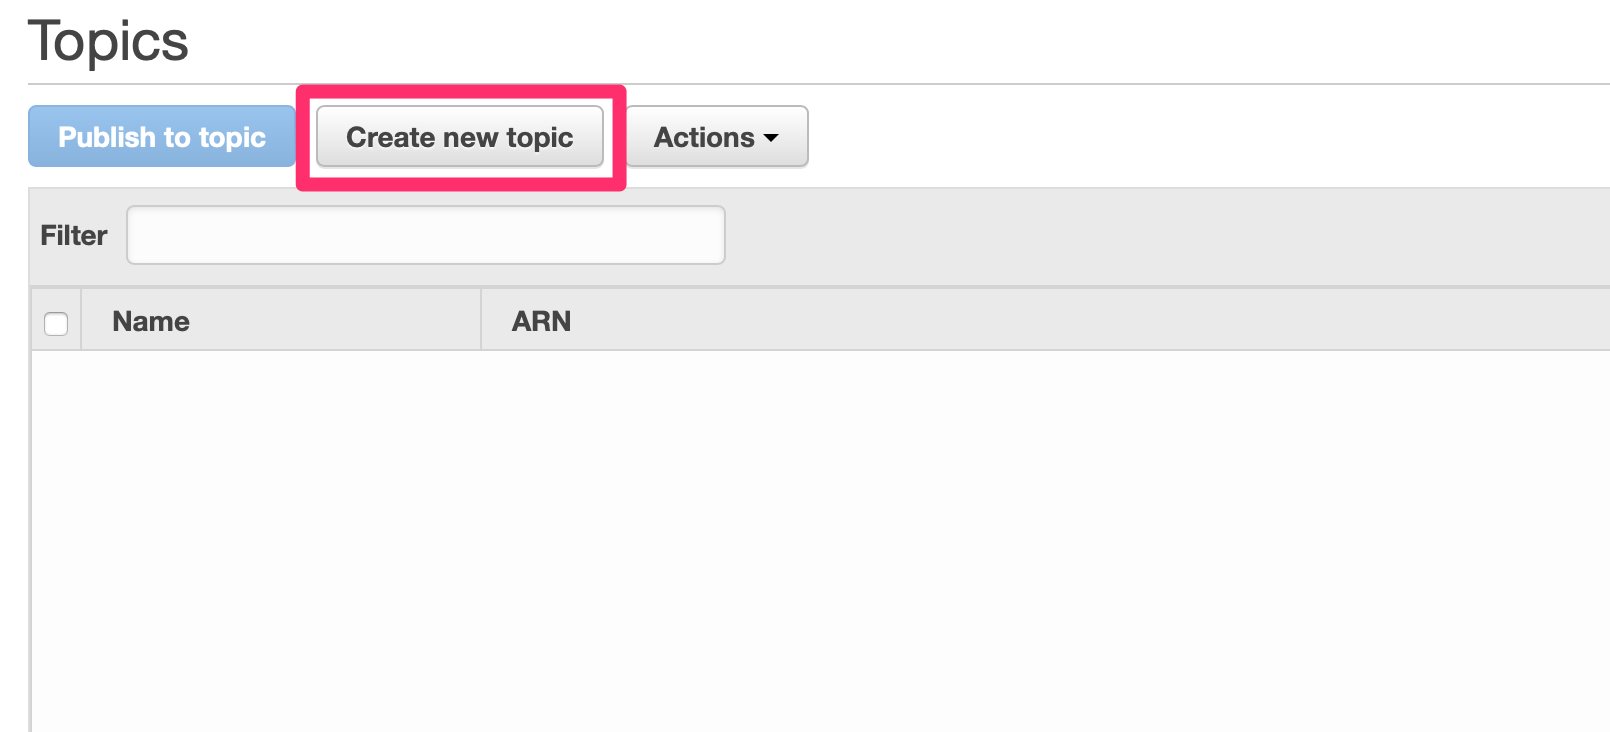
Enter a topic name, display name and select Create topic.
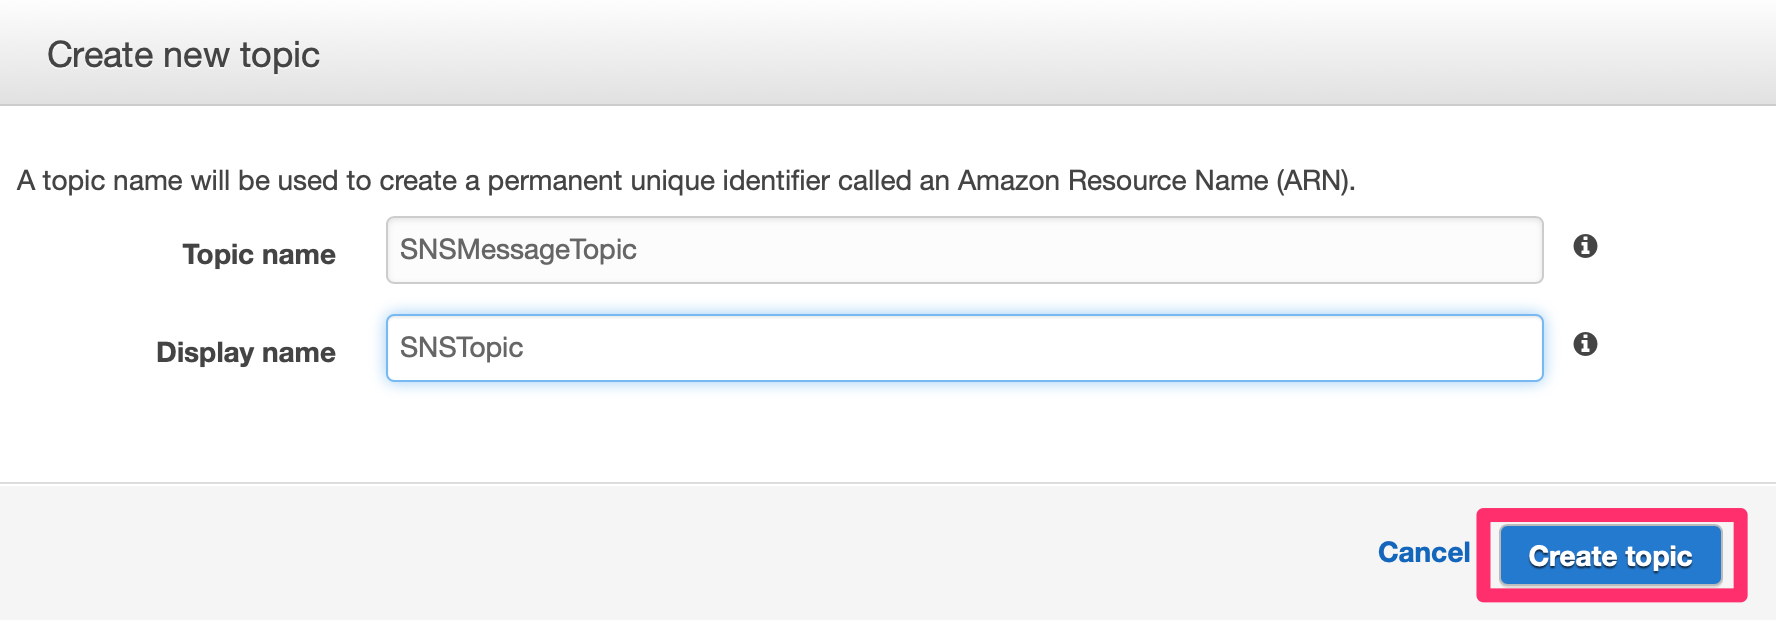
Copy the topic ARN for later use.
In order to send Push Notifications via AWS SNS each app instance needs to create an SNS Application Endpoint with the token received in didRegisterForRemoteNotificationsWithDeviceToken. Once the Endpoint is established you create a subscription to an SNS topic.
Code snippet for creating SNS Application Endpoint:
let sns = AWSSNS.default()
let request =AWSSNSCreatePlatformEndpointInput()
request?.token = [THE TOKEN RECEIVED FROM APNS]
request?.platformApplicationArn = "arn:aws:sns:us-east-1..."

sns.createPlatformEndpoint(request!).continueWith(executor: AWSExecutor.mainThread(), block: { (awsTask: AWSTask!) -> AnyObject? in

let createEndpointResponse = awsTask.result! as AWSSNSCreateEndpointResponse
In the response block from createPlatformEndpoint make a call to create a subscription to the topic created above.
Code snippet for creating SNS Subscription:
let subscription ="arn:aws:sns:us-east-1..."
let subscriptionRequest =AWSSNSSubscribeInput()

subscriptionRequest?.protocols = "application"
subscriptionRequest?.topicArn = subscription
subscriptionRequest?.endpoint = createEndpointResponse.endpointArn

sns.subscribe(subscriptionRequest!).continueWith(executor: AWSExecutor.mainThread(), block: { (awsTask:AWSTask) -> AnyObject? in

let subscriptionResponse = awsTask.result! as AWSSNSSubscribeResponse
That’s it! Now messages published to SNS Topic will be delivered to registered devices.