
Introduction
One of my hobbies is 3D printing fine art sculpture and busts. I personally find it calming to keep a few select pieces in rotation around my desk at work or home; a pleasant rest for the eyes after an extended coding session. Aside from the purely aesthetic value, these artworks also seem to provide more nuanced and elegant answers, real or imagined, than the traditional flexible fowl while rubber duck debugging, though your mileage may vary in this regard.
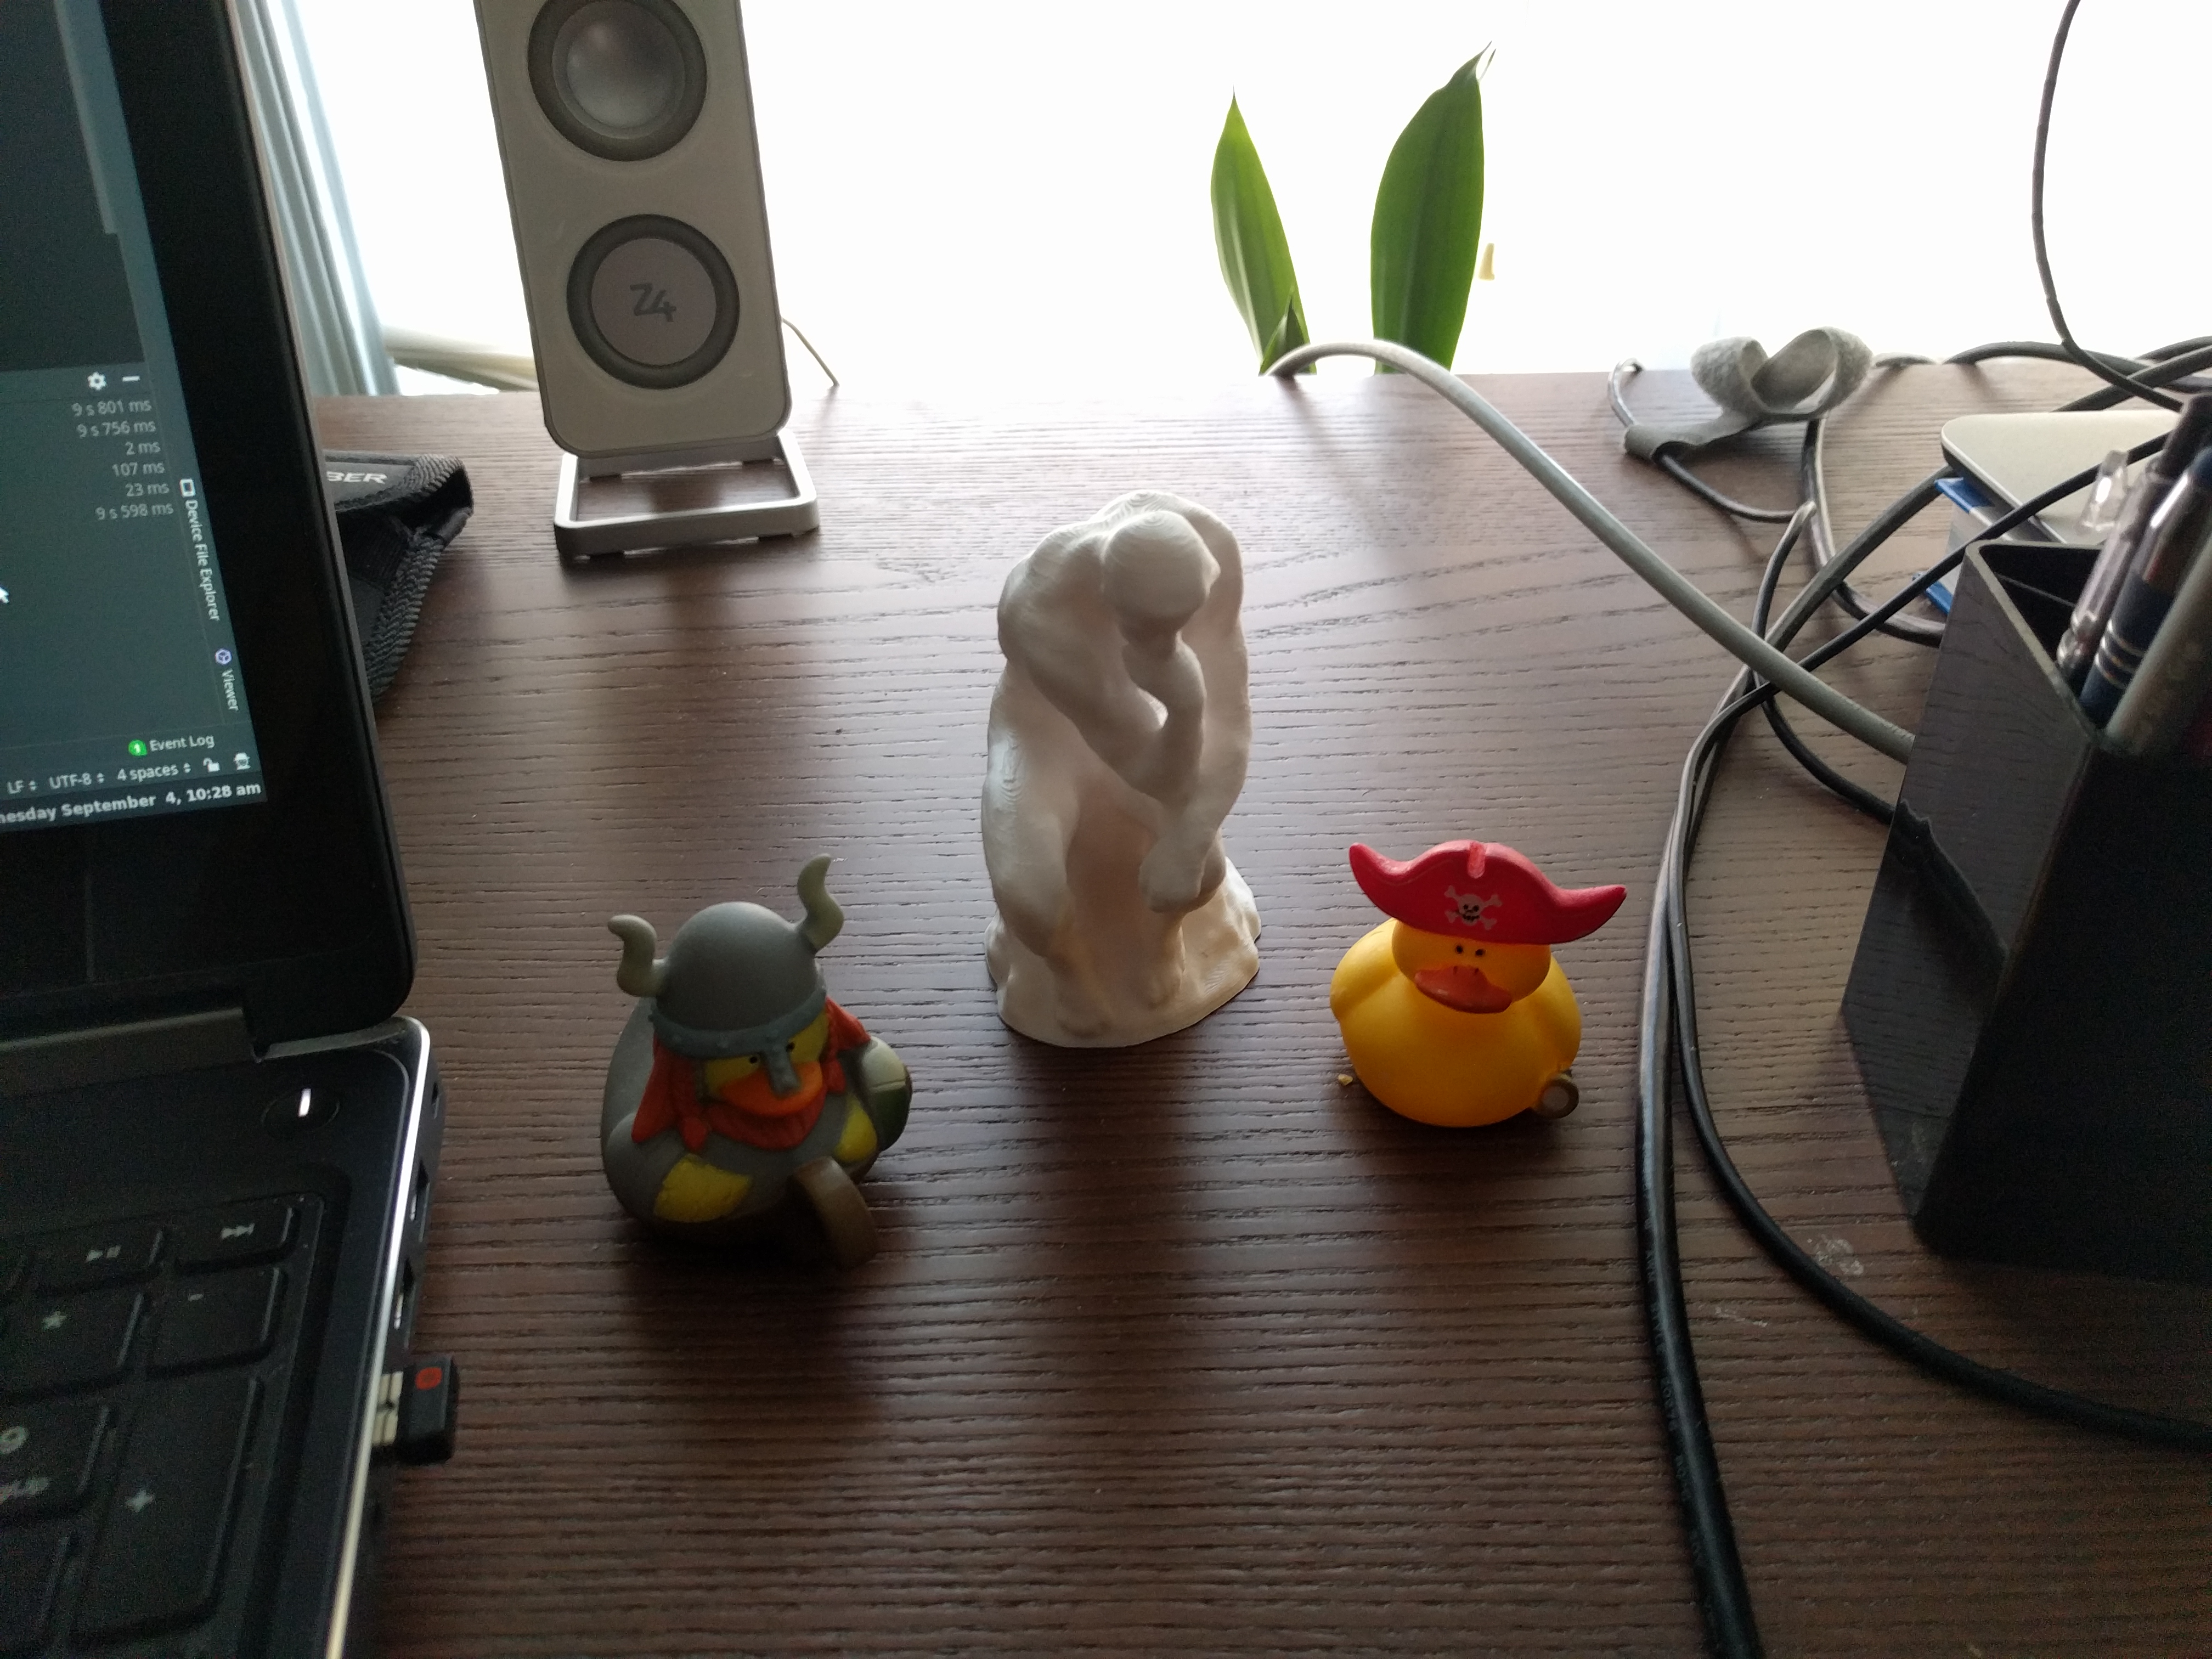
Quack, quack
Should you decide to produce your own petit Pergamon, it is occasionally useful to preview a piece before printing against the actual environment the objet d’art will be displayed. This can ensure consistency in size and shape among elements of the collection, confirm that it matches your office aesthetic, and save time and money spent printing an unfit selection.
In Beyond Marble, we will walk through the process of creating an Android app that can preview 3D-printed sculpture in augmented reality (AR) against a real-time background, and perhaps discover something along the way about what rests at the intersection of art and technology. The process assumes a basic working knowledge of modelling, git, and Android app development, and can be completed in 30-45 minutes. It will also require a supported Android device to complete.
Base Project
“I choose a block of marble and chop off whatever I don’t need.”
~Auguste Rodin
We will begin along the path suggested by Rodin, by selecting an existing Android app augmented reality project and transforming it by degrees to suit our needs. Google provides a set of example projects on the sceneform-android-sdk github page that serve well as jumping-off points into the world of Android AR development. We are interested specifically in the hellosceneform project which provides much of the desired functionality of our app: the project structure, the dependencies, and the ability to place and scale objects in AR. To begin, clone the project locally with git clone https://github.com/google-ar/sceneform-android-sdk.git, import the hellosceneform project into Android Studio, and confirm that it auto-configures and builds properly.
The example projects all depend on ARCore, the Google platform for creating AR experiences on Android. ARCore is installed and managed outside the example project as a separate APK, typically by Google Play Services. The first time hellosceneform is installed and run on an Android device, the ArFragment in the /app/src/main/res/layout/activity_ux.xml layout XML file should automatically prompt the user and manage the installation of the appropriate ARCore dependency if Google Play services is available on the Android device. For those who have gone Google-free on their Android devices, various versions of the ARCore APKs are available for direct download. These APKs can be sideloaded separately to satisfy the ARCore dependency. Check the com.google.ar.sceneform:plugin entry in the /app/build.gradle file to confirm that you are installing the correct version.
dependencies {
   …
   classpath 'com.google.ar.sceneform:plugin:1.6.0'
   …
}
With that key dependency satisfied, we should be able to successfully install and run hellosceneform from Android Studio on an Android device. Move the phone as prompted while pointing at any flat surface such as a tabletop, until a plane of dots appears overlaid on the surface in the camera display. To create a model in the AR environment, tap the screen to add one Andy (the Android mascot), then two Andy, then a minor herd of Andy. These can be moved around the plane by tapping to select a model and then dragging, and can be scaled by tapping to select and then pinch-to-scale.
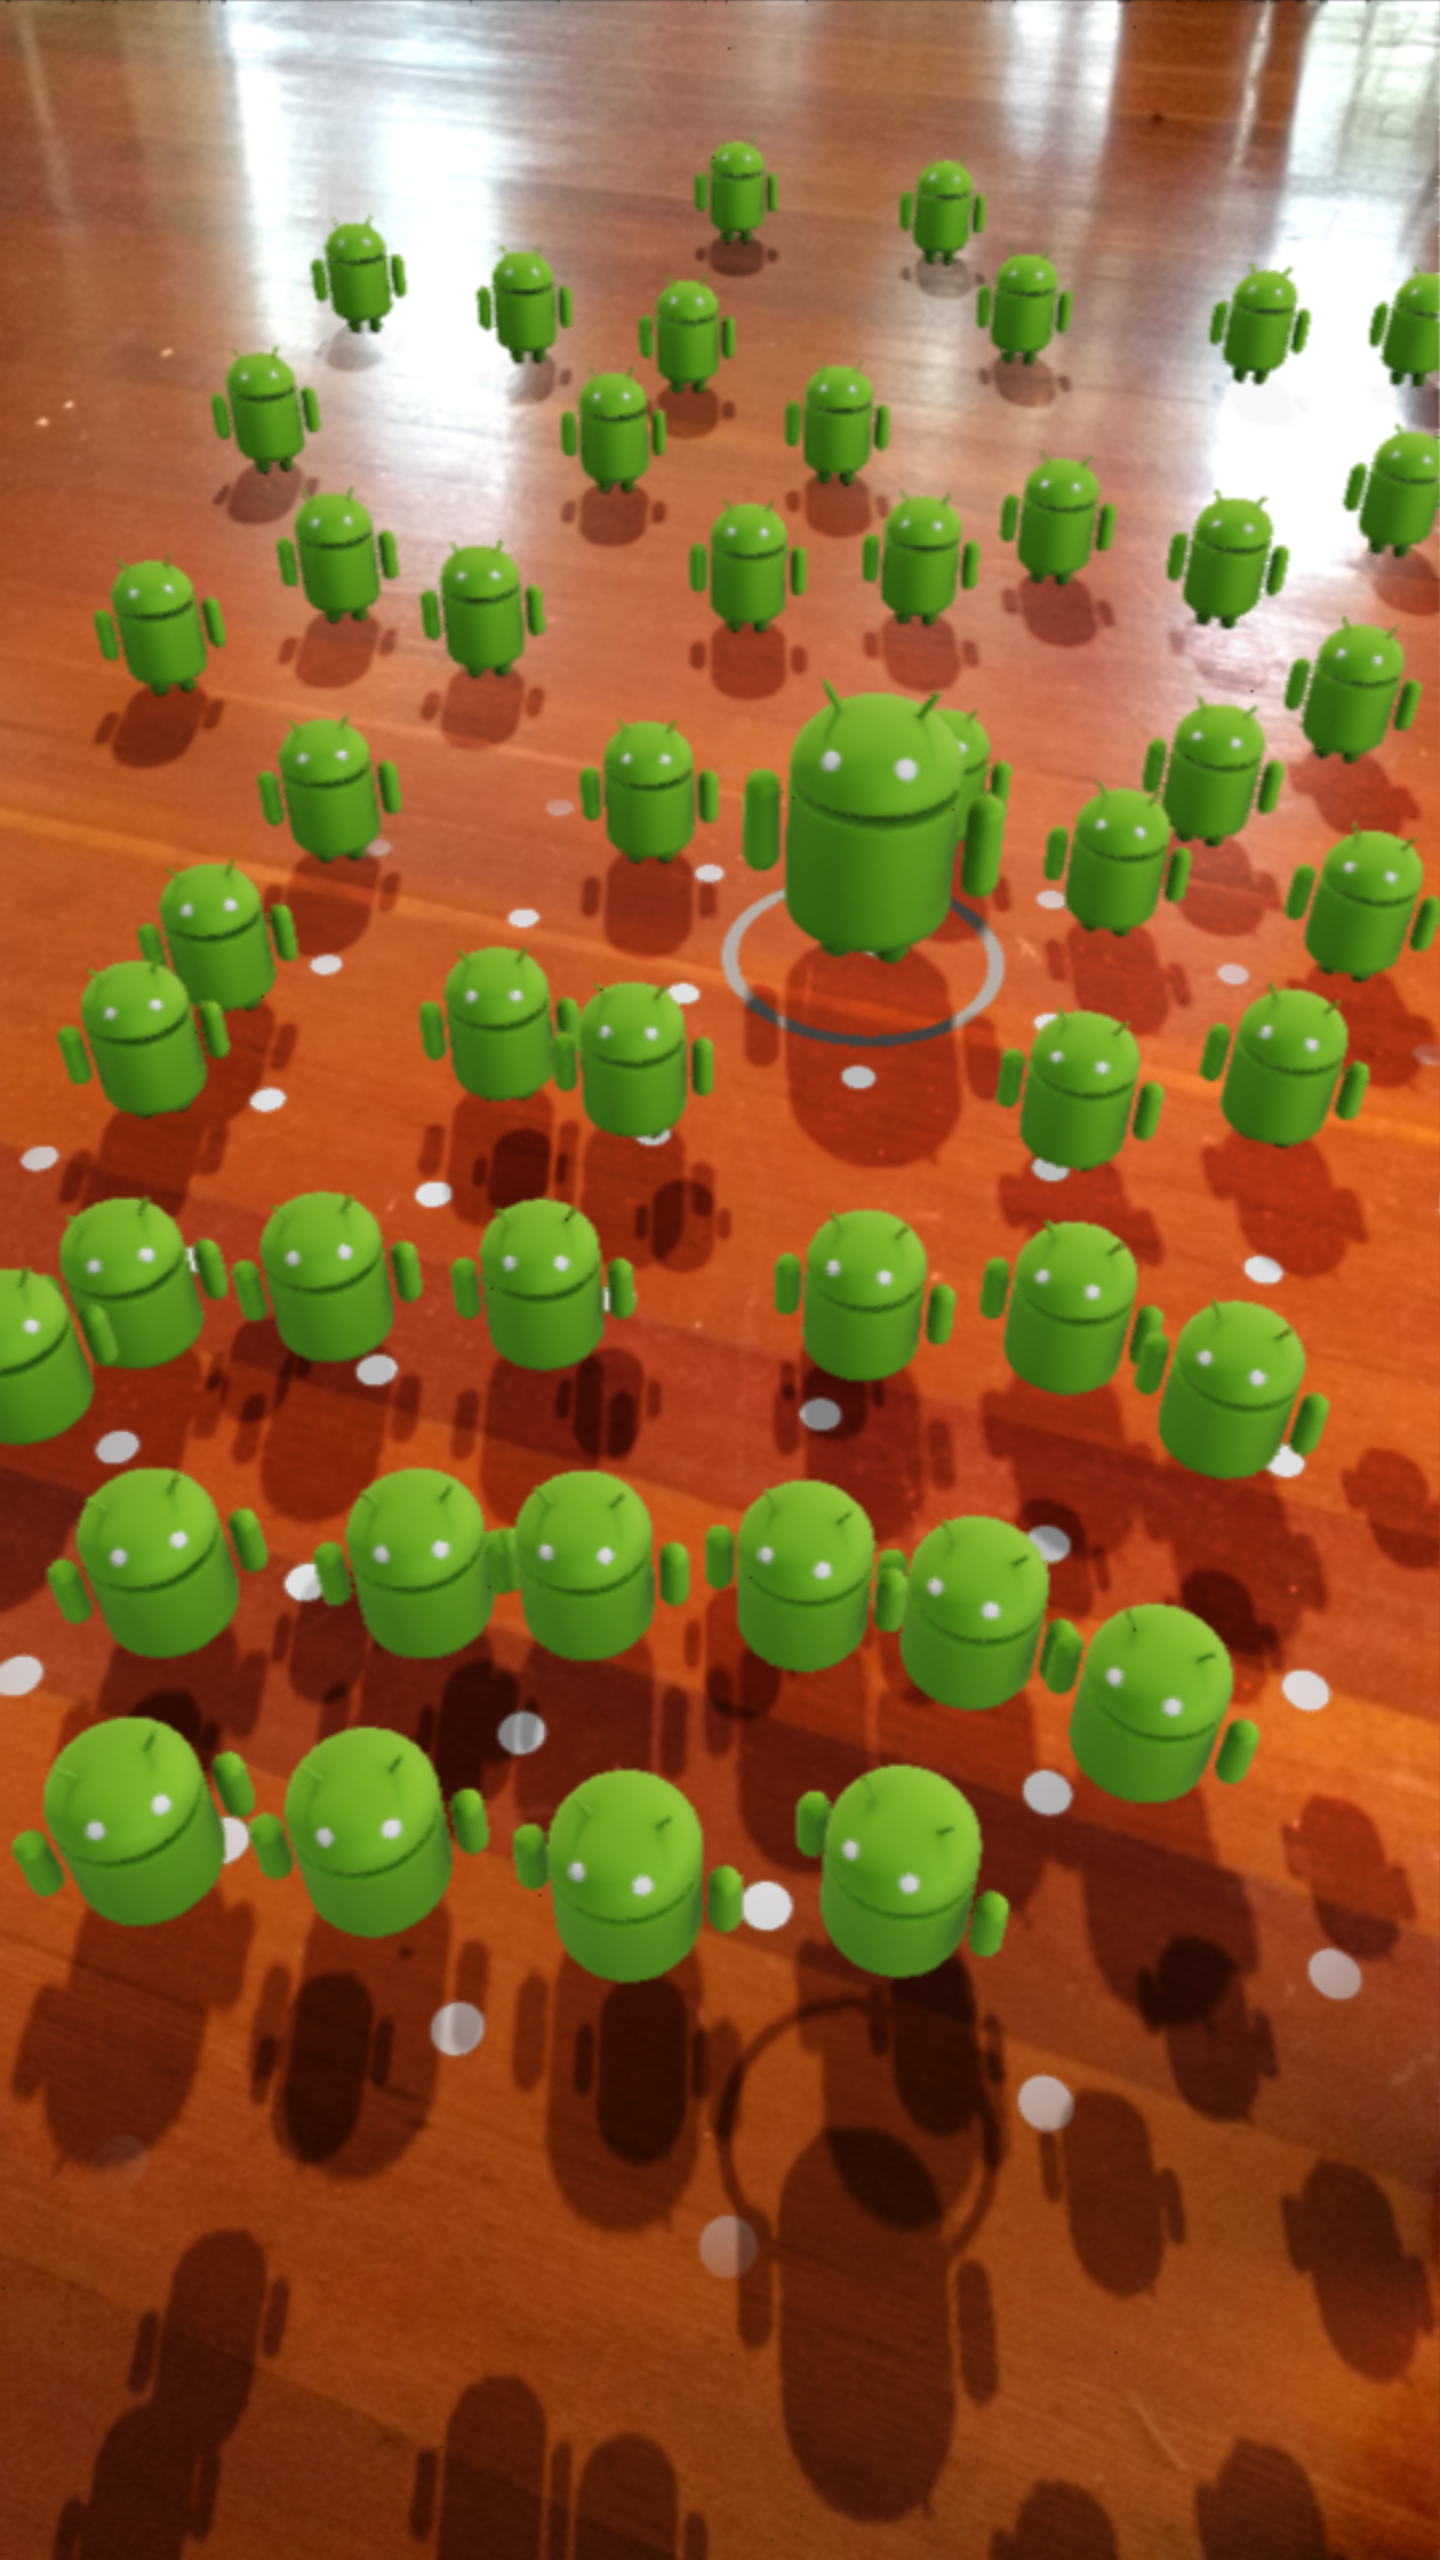
The claaaw
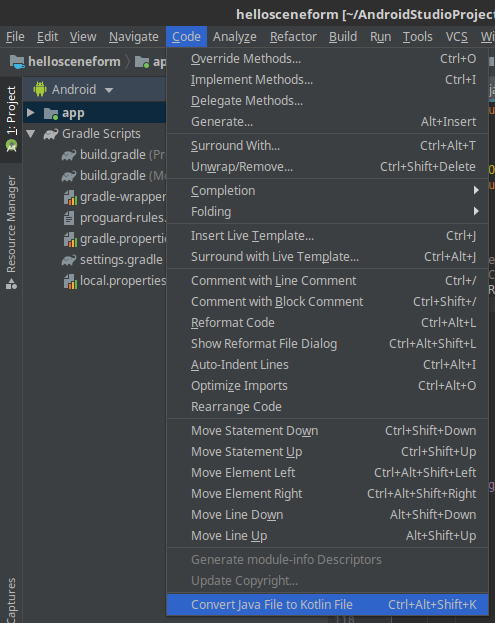
At the time of writing, the HelloSceneFormActivity is written in Java. An optional but highly recommended step to take at this point is to convert this file from Java to Kotlin, to take full advantage of the many additional language features offered by Kotlin. The file should convert in a straightforward manner by selecting Code > Convert Java File to Kotlin File. The IDE will then automatically guide you through the process to add Kotlin support to the project.
For more information on getting started with Kotlin, be sure to check out the Kotlin to Java comparison and run through some Kotlin Koans.
Model Resources
“Everything changes, but beauty remains.”
~Kelly Clarkson
The past several years have seen a rapid profusion of free and paid model resources for 3D printing, including scans of fine art. These vast online databases exemplify in certain aspects the democratizing and freedom-loving ethos inherent in the hacker and maker communities, enabling fine art to be enjoyed by the average person in the comfort of their own home. Two such model resource databases are Thingiverse and Scan the World, which provide free-as-in-beer access to high-resolution scans of fine art sculpture from around the world.
Perhaps the most enjoyable part of this project, explore these databases and determine the model you would like to preview in AR. Take your time, browse slowly, and let the proportions and space of the forms delight you. Consider that as painting is a fixed two-dimensional representation of reality, and sculpture is a three-dimensional representation, is a digitized sculpture not a fixed four dimensional representation, the form being timeless? For as long as the bits survive, the form remains eternal: no lost limbs, weathering, or staining will ever mar the perfect form.
For our example app, we will be using Rodin’s The Thinker, which typically prints well and requires few supports due to the wide base and oblique angles of the artwork. Of course, be sure to review and adhere to the licenses associated with your particular model files prior to including them in any software distribution or project.
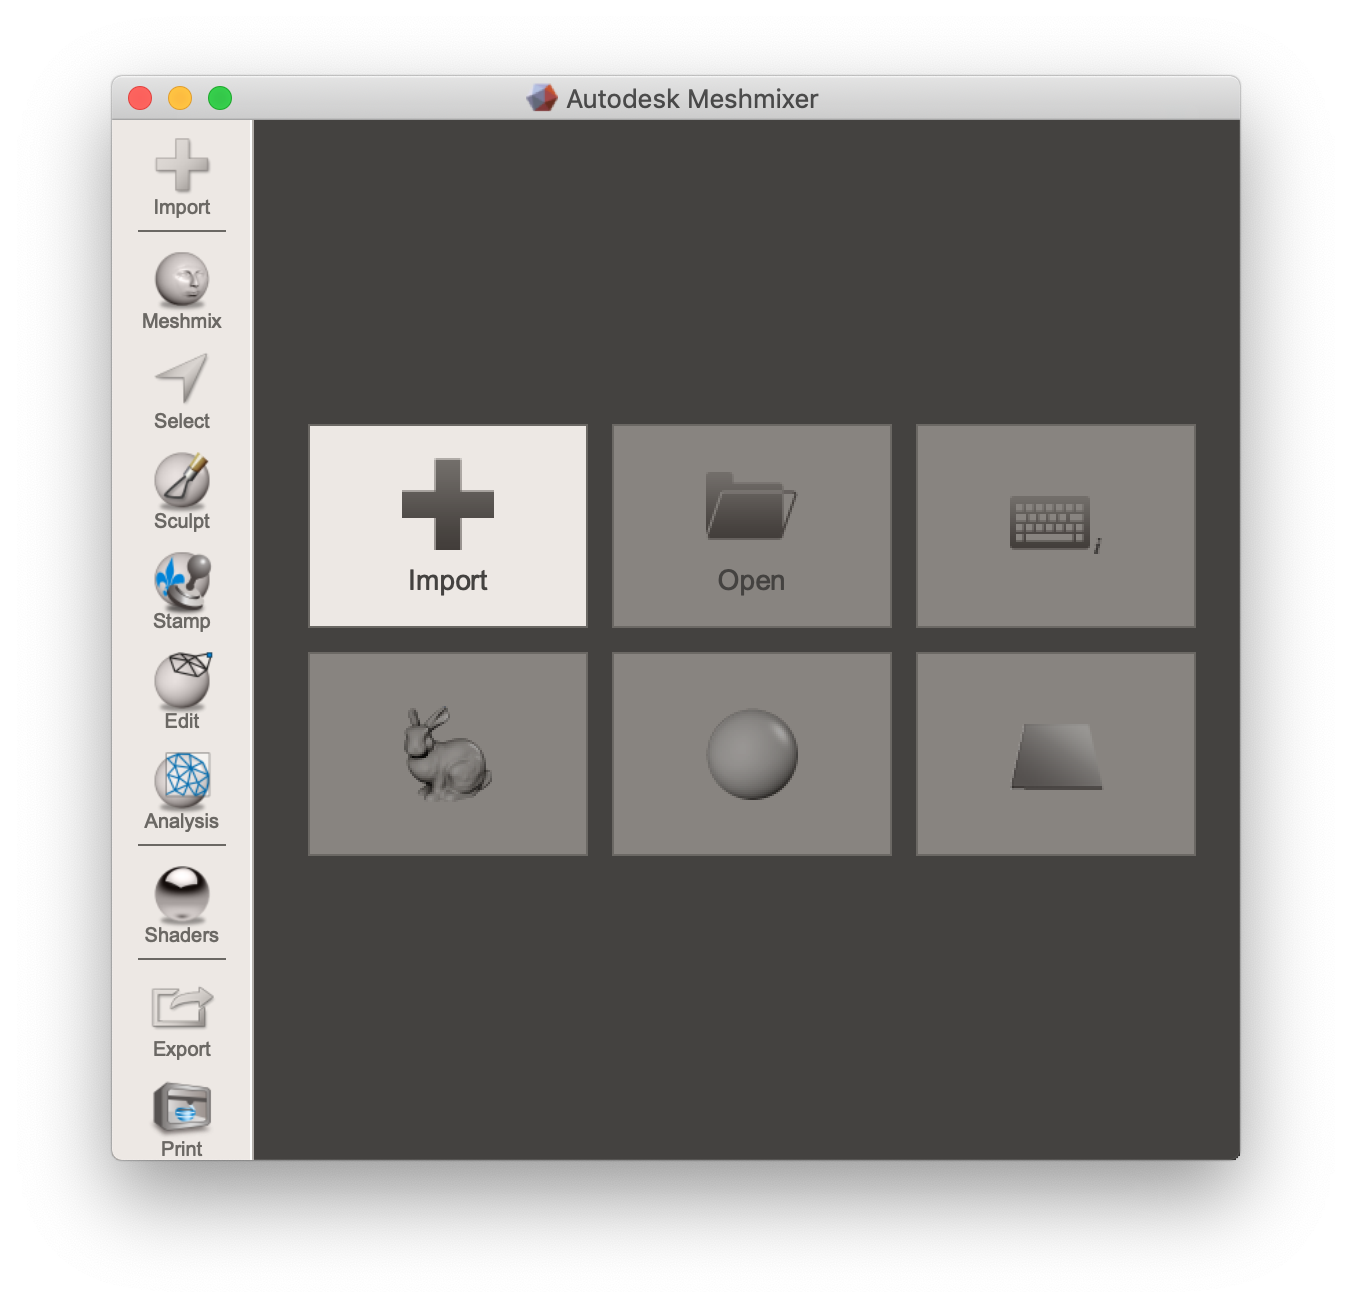
3D print model resources are typically provided by online databases in the stereolithography STL file format. For the ARCore framework to make sense of the 3D mesh of the model, the resource must first be converted to the object OBJ file format. To perform this conversion, we can use Meshmixer on Windows and Mac machines. Simply import your STL file into Meshmixer and save as OBJ.
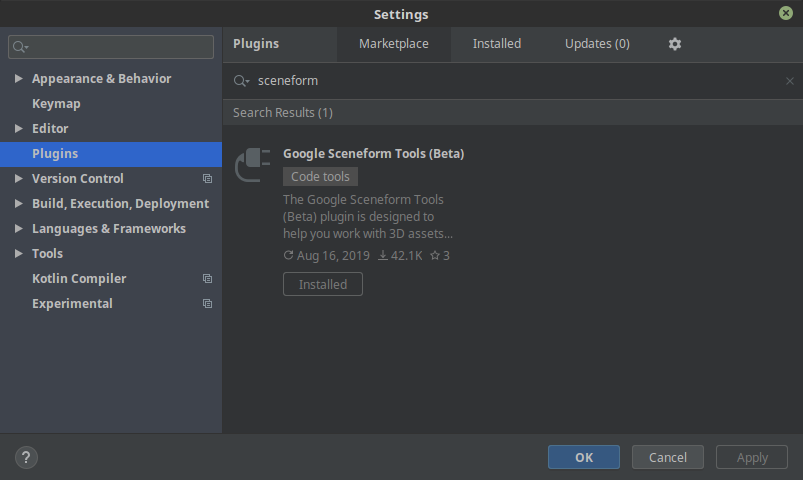
Working with ARCore model resources in Android Studio requires the Google Sceneform Tools (Beta) plugin. To install this plugin, go to Settings > Plugins and find the Google Sceneform Tools (Beta) in the Marketplace.
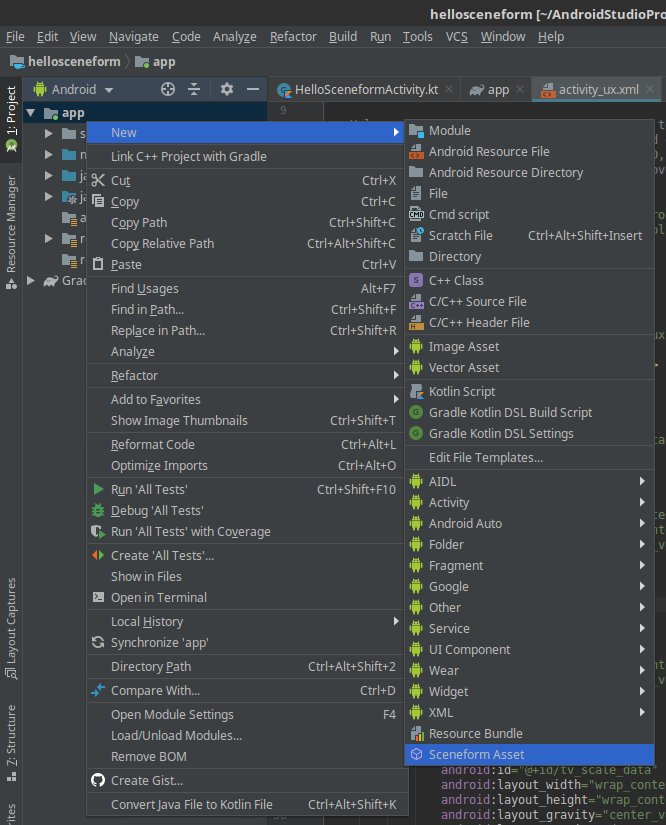
Once the model is available as an OBJ file, it can be imported into the hellosceneform project by right-clicking on the app package in the Project view and selecting New > Sceneform Asset. The IDE will guide you through the process of importing the OBJ file and automatically converting it to the Sceneform asset file *.sfa and Sceneform binary files *.sfb required by the ARCore framework.
With this model now available, it is a simple matter to find-replace references to R.raw.andy with the new R.raw.thinker asset, to enable us to preview the 3D print in AR. Give it a try!
Raw Material
“Where the material ends, art begins.”
~Etienne Hajdu
My printer provides the most consistently aesthetic outputs in pure-white PLA plastic, mimicking the marble of the original forms. This is a matte, opaque material which tends not to yellow over time as much as comparable plastics like ABS. We will be using this material as the basis of the texture applied to the model in Android Studio, to provide a reasonable facsimile in augmented reality of what the finished 3D print may look like.

The AR toolkit provides several knobs we can turn to modify the default texture of the model to match the sampled real-world values, located in the *.sfa file. Consider this section:
parameters: [
{
  baseColor: null,
},
{
  baseColorTint: [
    0.59999999999999998,
    0.59999999999999998,
    0.59999999999999998,
    1,
  ],
},
{
  metallic: 0,
},
{
  roughness: 1,
},
{
  opacity: null,
},
],
This default material is actually quite close to what we are looking for. Metallic is a value from 0.0 to 1.0 controlling the reflectivity of the object. Roughness is a value from 0.0 to 1.0 controlling the way light scatters off of the object.Opacity controls the transparency of the object, which is appropriately null by default for our opaque model. We will also modify the baseColorTint, which is currently set to a midtone grey.
Checking an image of a previously completed print, we can sample the RGB values as #e7eef8, which converts to (0.9058, 0.9333, 0.9725) on a scale of 0.0 to 1.0. Simply plug in those values for baseColorTint in the *.sfa file and run the project. metallic can be approximated at 0.2, and roughness at about 0.5 for PLA plastic. We should now be able to place and scale sculptures of approximate look and feel to the finished 3D-printed product, though they may appear at a suitably rakish angle. If your model appears offset by 90°, you can apply any necessary compensating rotational transforms in Meshmixer and re-export the model.
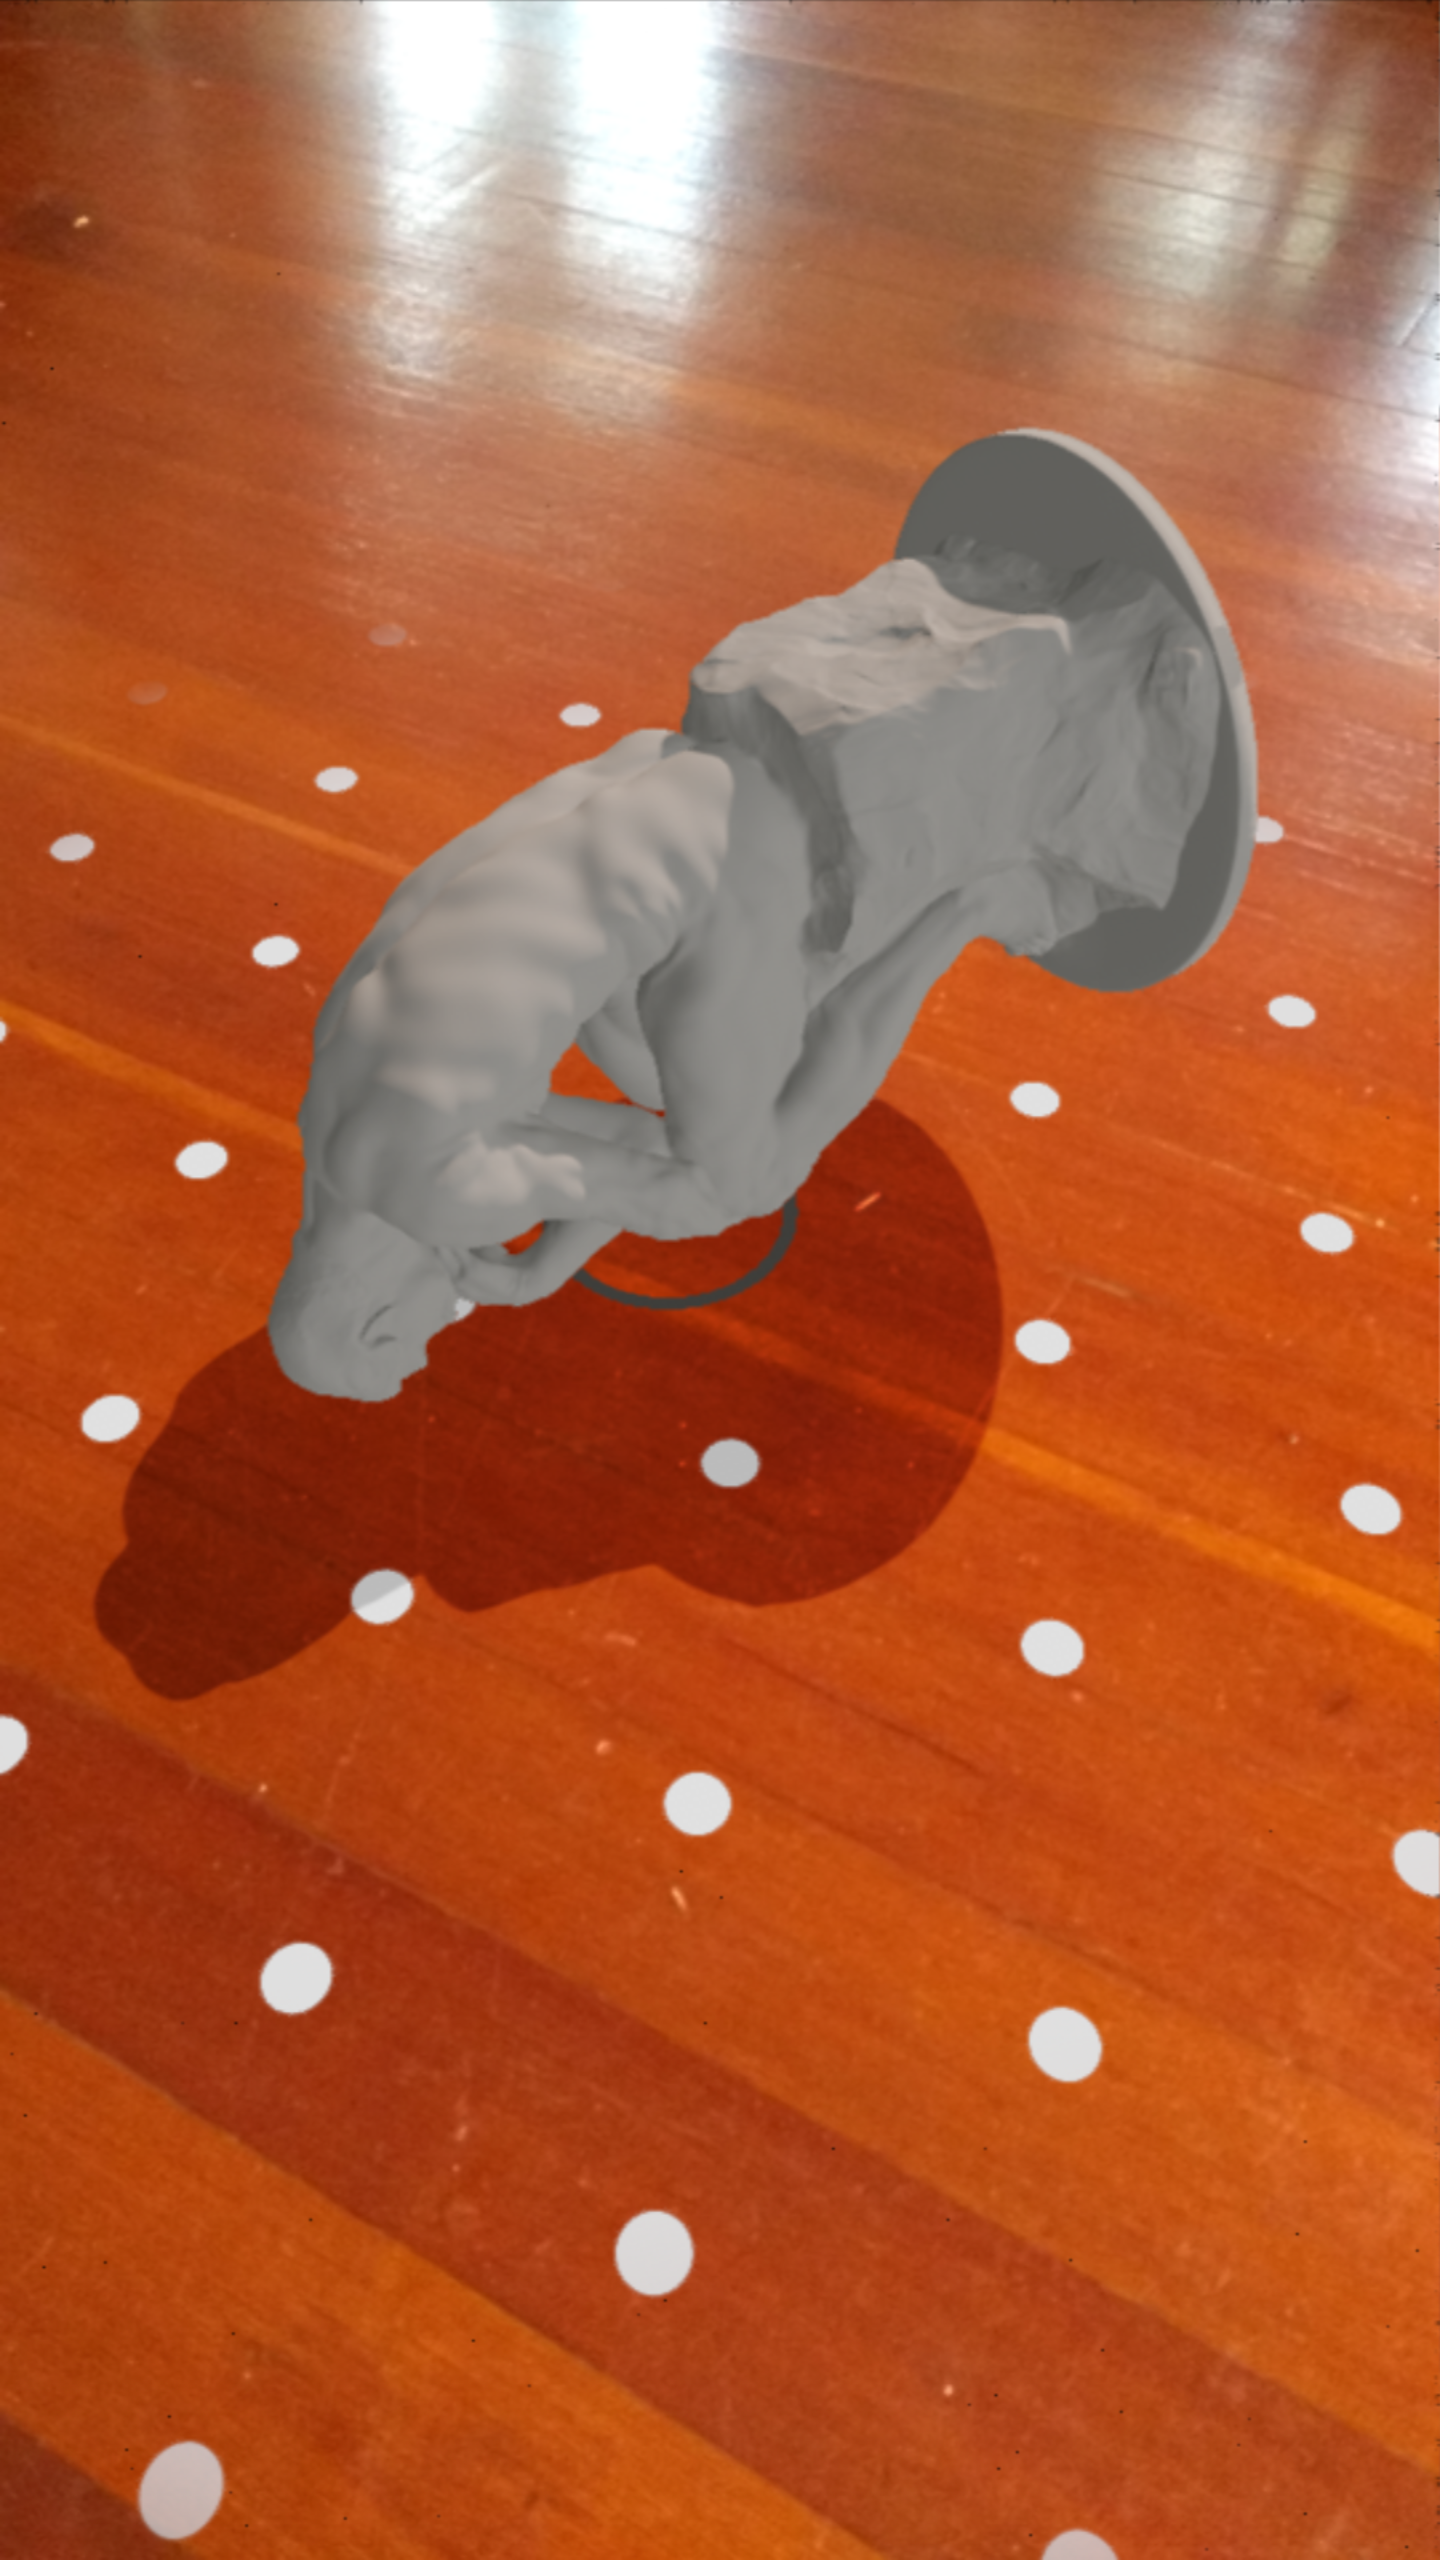
No time to sleep
Transformations
“Sculpture consists of concrete material bounded by forms, intentionally built up by mankind in three dimensional space.”
~Naum Gabo
There are many types of transforms that we can apply to our sculpture: stretching, translating, and rotating through the space. The most immediate and practical transform for this app is a scaling function that controls how tall the model preview will appear in actual real-world units. My printer provides quality output in the range 10mm to 120mm. Let’s add a simple slider control, data display, and scaling function to our project for that print size range.
To begin, pull the gist for the improved activity_ux.xml, which adds a simple seekbar control and a data display overlay to the UI. sb_scale will be used for our input in millimeters, and tv_scale_data will display the current scale value. The gist also contains the modifications for HelloSceneFormActivity.kt to add functionality matching our new controls. Note that the default units used for ARCore are in meters, which makes conversions to the millimeters used in the sb_scale SeekBar control trivial.
That’s it! Enjoy placing, moving, and scaling your sculpture previews in AR.
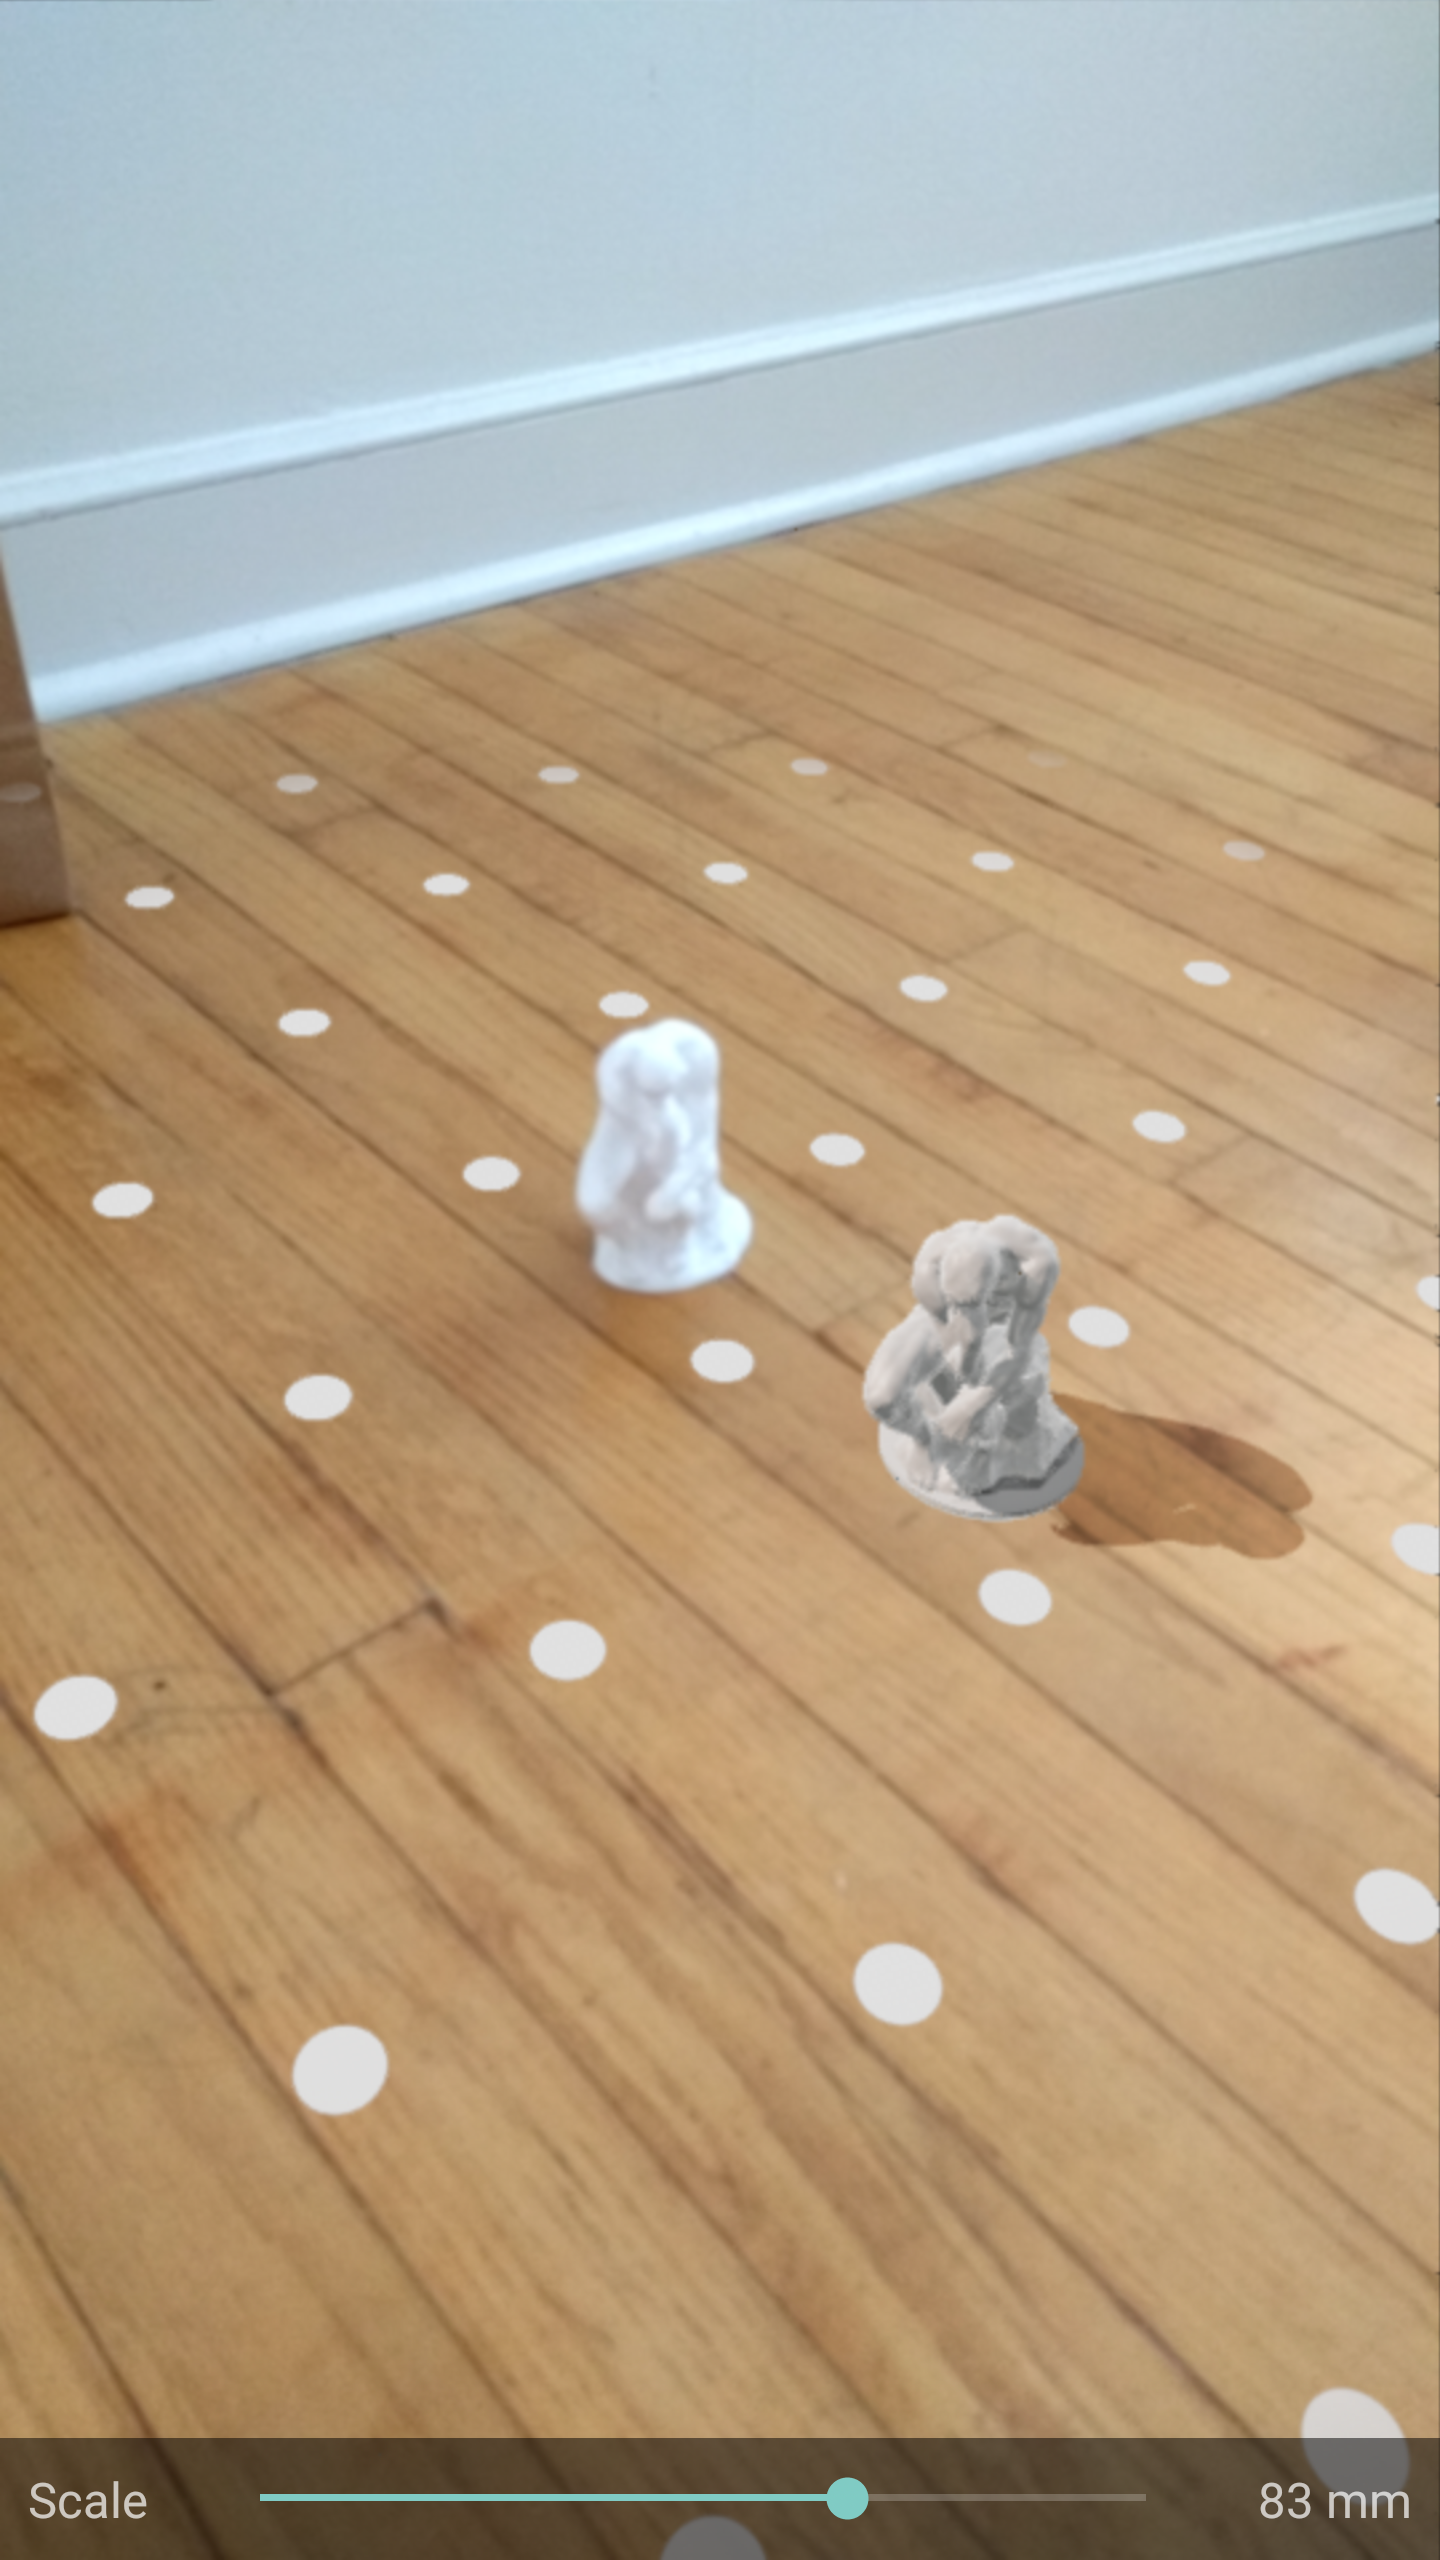
Not bad!
Future exploration
“And the cold marble leapt to life a God.”
~H. H. Milman
With this as a solid basis, any number of additional features are possible. For example, the ability to dynamically import and automatically convert files from STL to OBJ, gITF, or FBX would be a good place to start. Alternately, a feature for switching and placing different models for real-time side-by-side comparison would also be useful.
There is no limit- digital spaces are endless.