
Getting Started
This tutorial picks up where Implementing Drag And Drop As A Destination App In iOS 11 leaves off. If you have already gone through that tutorial, you can continue on with the same source code. Otherwise, check out the code from GitHub.
For this demo, we will start with a basic contact list app that can interact with the contacts app in iOS. A starter project can be found here.
Drag and Drop – Source App
Just like the destination app that we worked on previously, Apple has provided built in support for a UITextView, UITableView and UICollectionView from the source side. As we consider implementing Drag and Drop as a source app, we will implement this feature both from the UITableView and from the UIImageView that we used before. When we are done this, we will have an app that can move contacts back and forth with the Contacts app and images back and forth with the Photos app.
Drag and Drop – UITableView
Returning to the MasterViewController‘s table view, we will start implementing the ability to start a Drag and Drop activity. The first thing that we need to do, much like we did when making the UITableView act as the destination, is to set a dragDelegate. In the viewDidLoad() method, add the following.
tableView.dragDelegate = self
Next, we need to make MasterViewController conform to the UITableViewDragDelegate protocol. Do this by creating another extension in the MasterViewController.swift file.
extension MasterViewController: UITableViewDragDelegate {
}
There is just one method that needs to be implemented in this extension, as seen below. The purpose of this method is to create one or more UIDragItem objects and return them in an array. Each UIDragItem should be representative of one piece of data that is available through this drag action. For example, when I drag a contact, I could choose to make a CNContact and a UIImage available so that an app that accepts either of those items can accept my Drag and Drop action.
Our implementation will first, determine which contact is represented by the UITableViewCell that is being dragged. Next, it will create a CNContact, which is the object type that can be saved in the Contacts app. Continuing, we will serialize that contact into a Data object. Then, we need to create an NSItemProvider to provide the data. The NSItemProvider is the object that determines which type of data we are allowing to be dragged. When the NSItemProvider‘s completion block is called, it will return the Data object that was previously created. Finally, we create and return an Array of one UIDragItem which holds the NSItemProvider.
func tableView(_ tableView: UITableView, itemsForBeginning session: UIDragSession, at indexPath: IndexPath) -> [UIDragItem] {
    let contact = contacts[indexPath.row]
    let contactCopy = contact.cnContact()
    let data = try? CNContactVCardSerialization.data(with: [contactCopy])
    let itemProvider = NSItemProvider()
    itemProvider.registerDataRepresentation(forTypeIdentifier: kUTTypeVCard as String, visibility: .all) { completion in
        completion(data, nil)
        return nil
    }
    return [UIDragItem(itemProvider: itemProvider)]
}
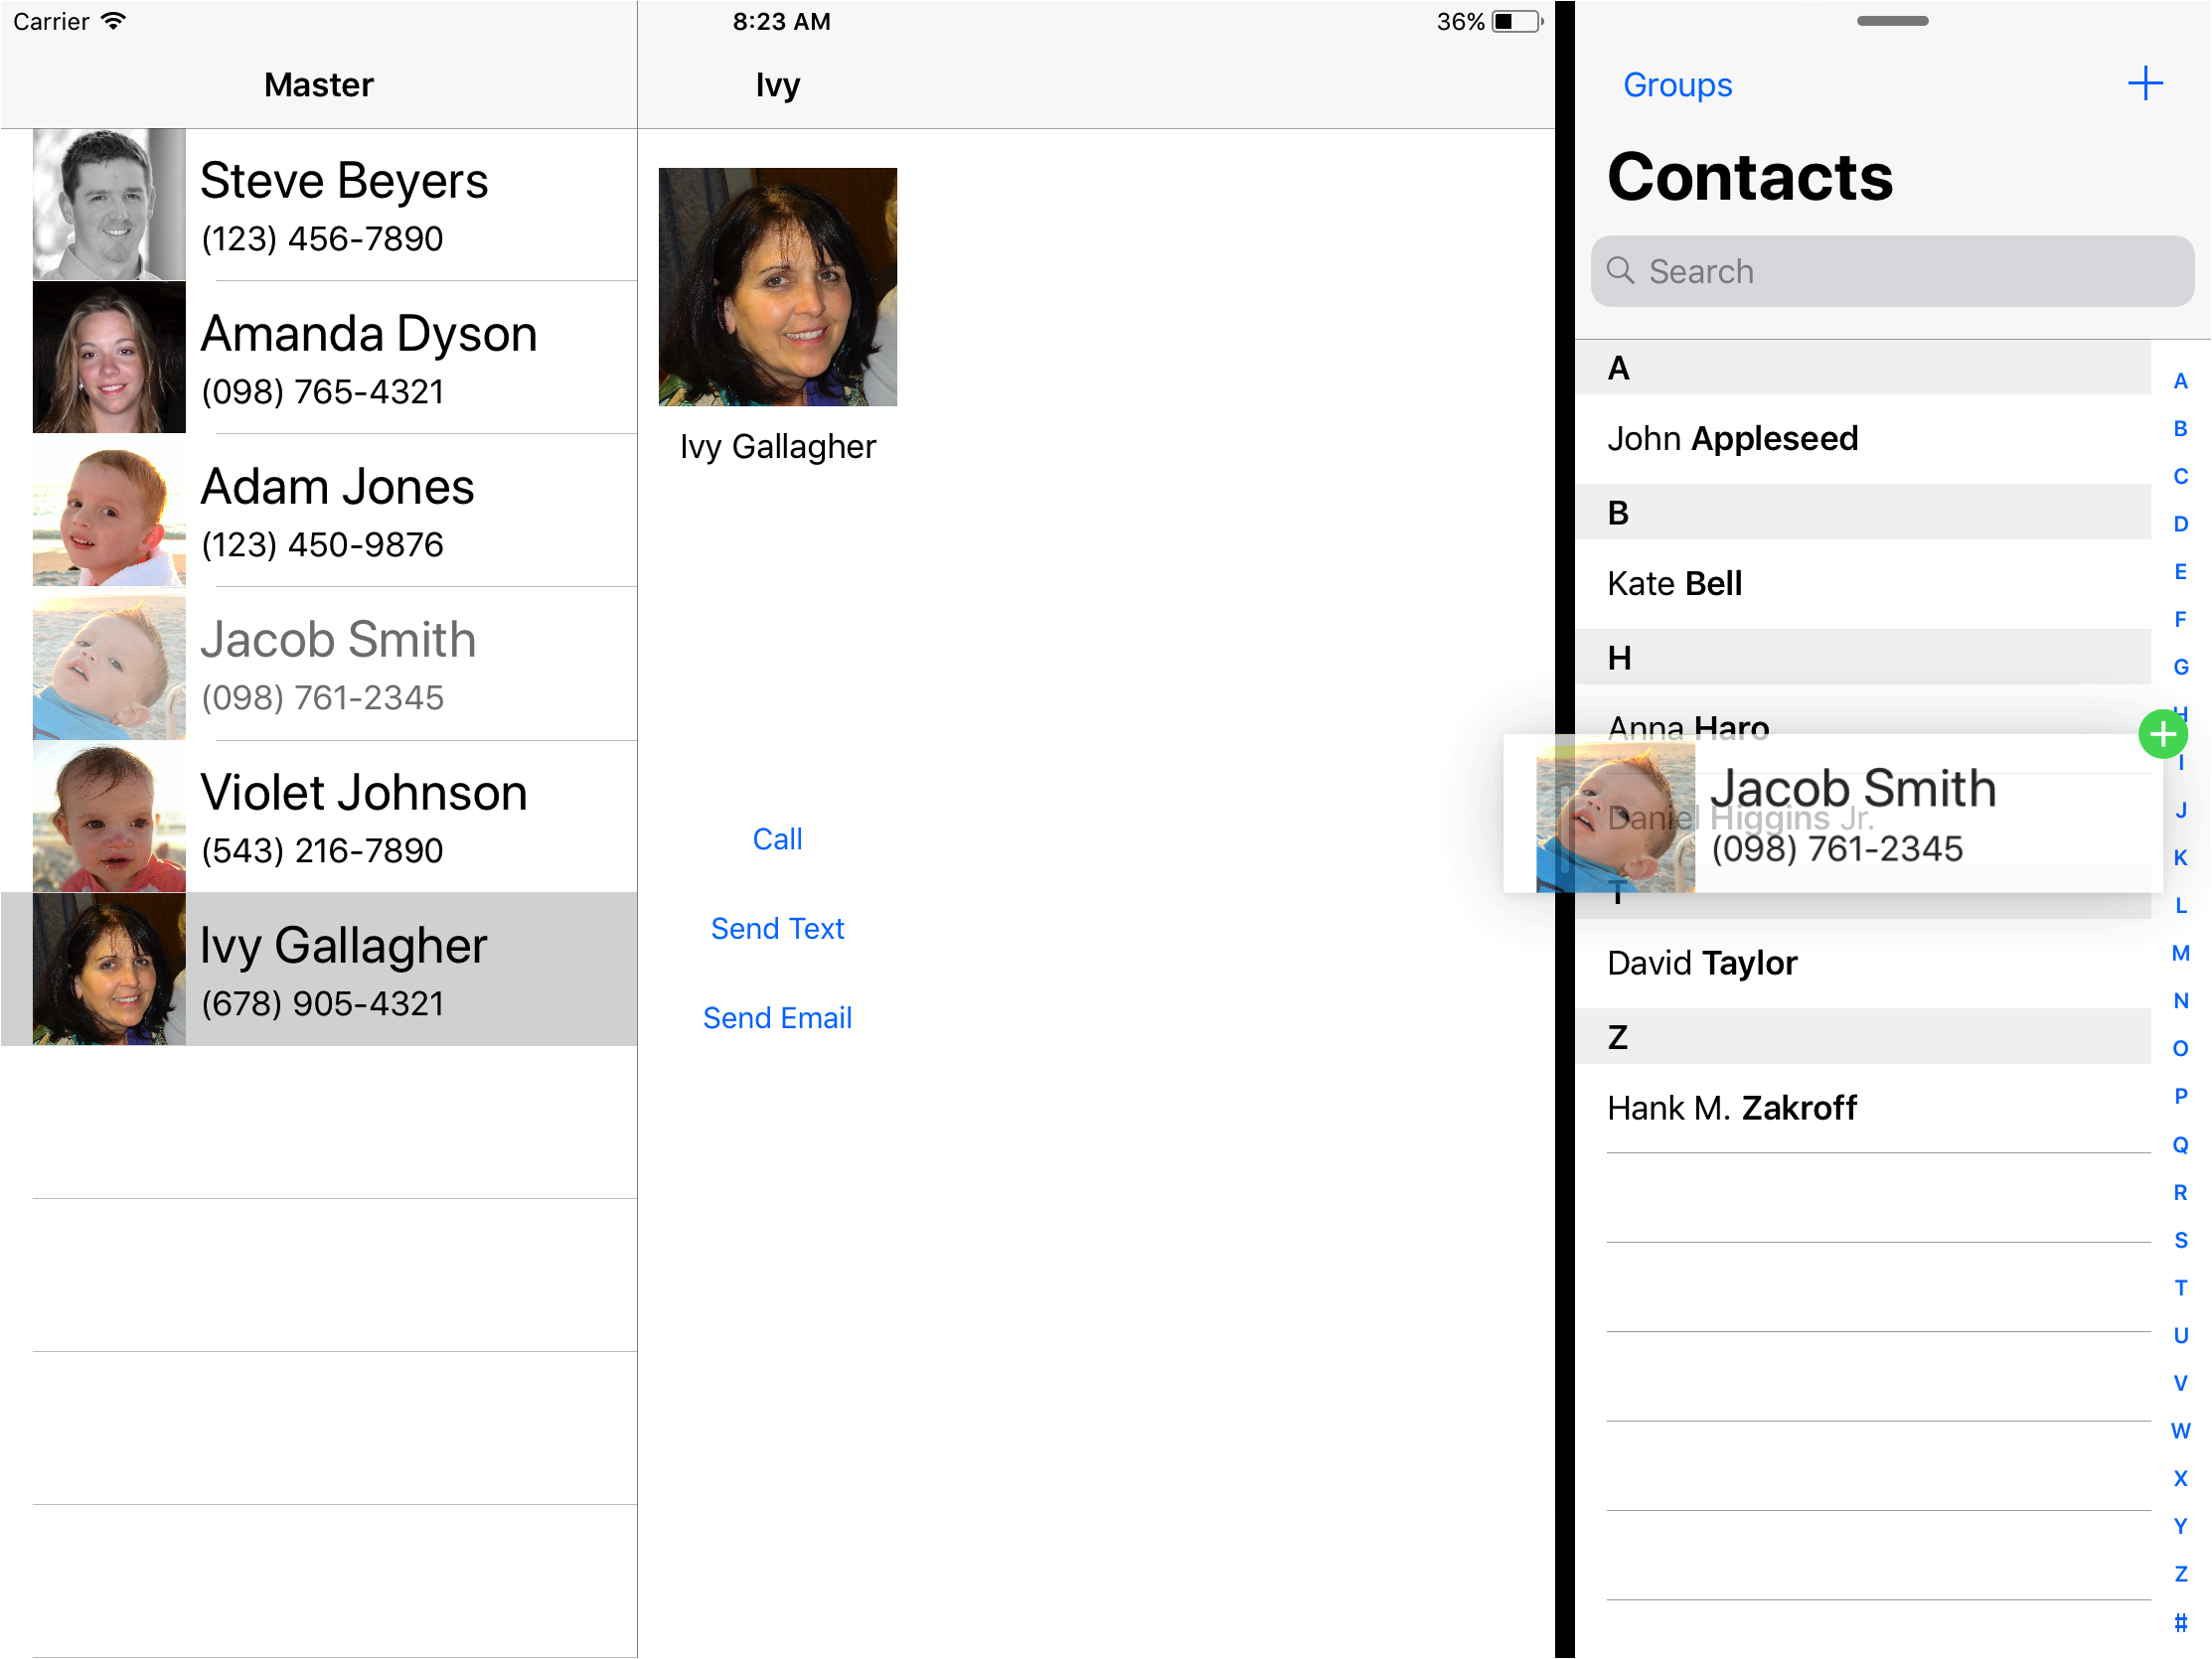
Notice that we are calling the method cnContact() on an instance of Contact. This is a helper method that has been created in the Contact class to create a CNContact object. Now, we can run the app. If we open the Contacts app next to our app, we can Drag and Drop a row from the UITableView over to the Contacts app and a new contact card will be created with the data that we have provided.
Drag and Drop – UIImageView
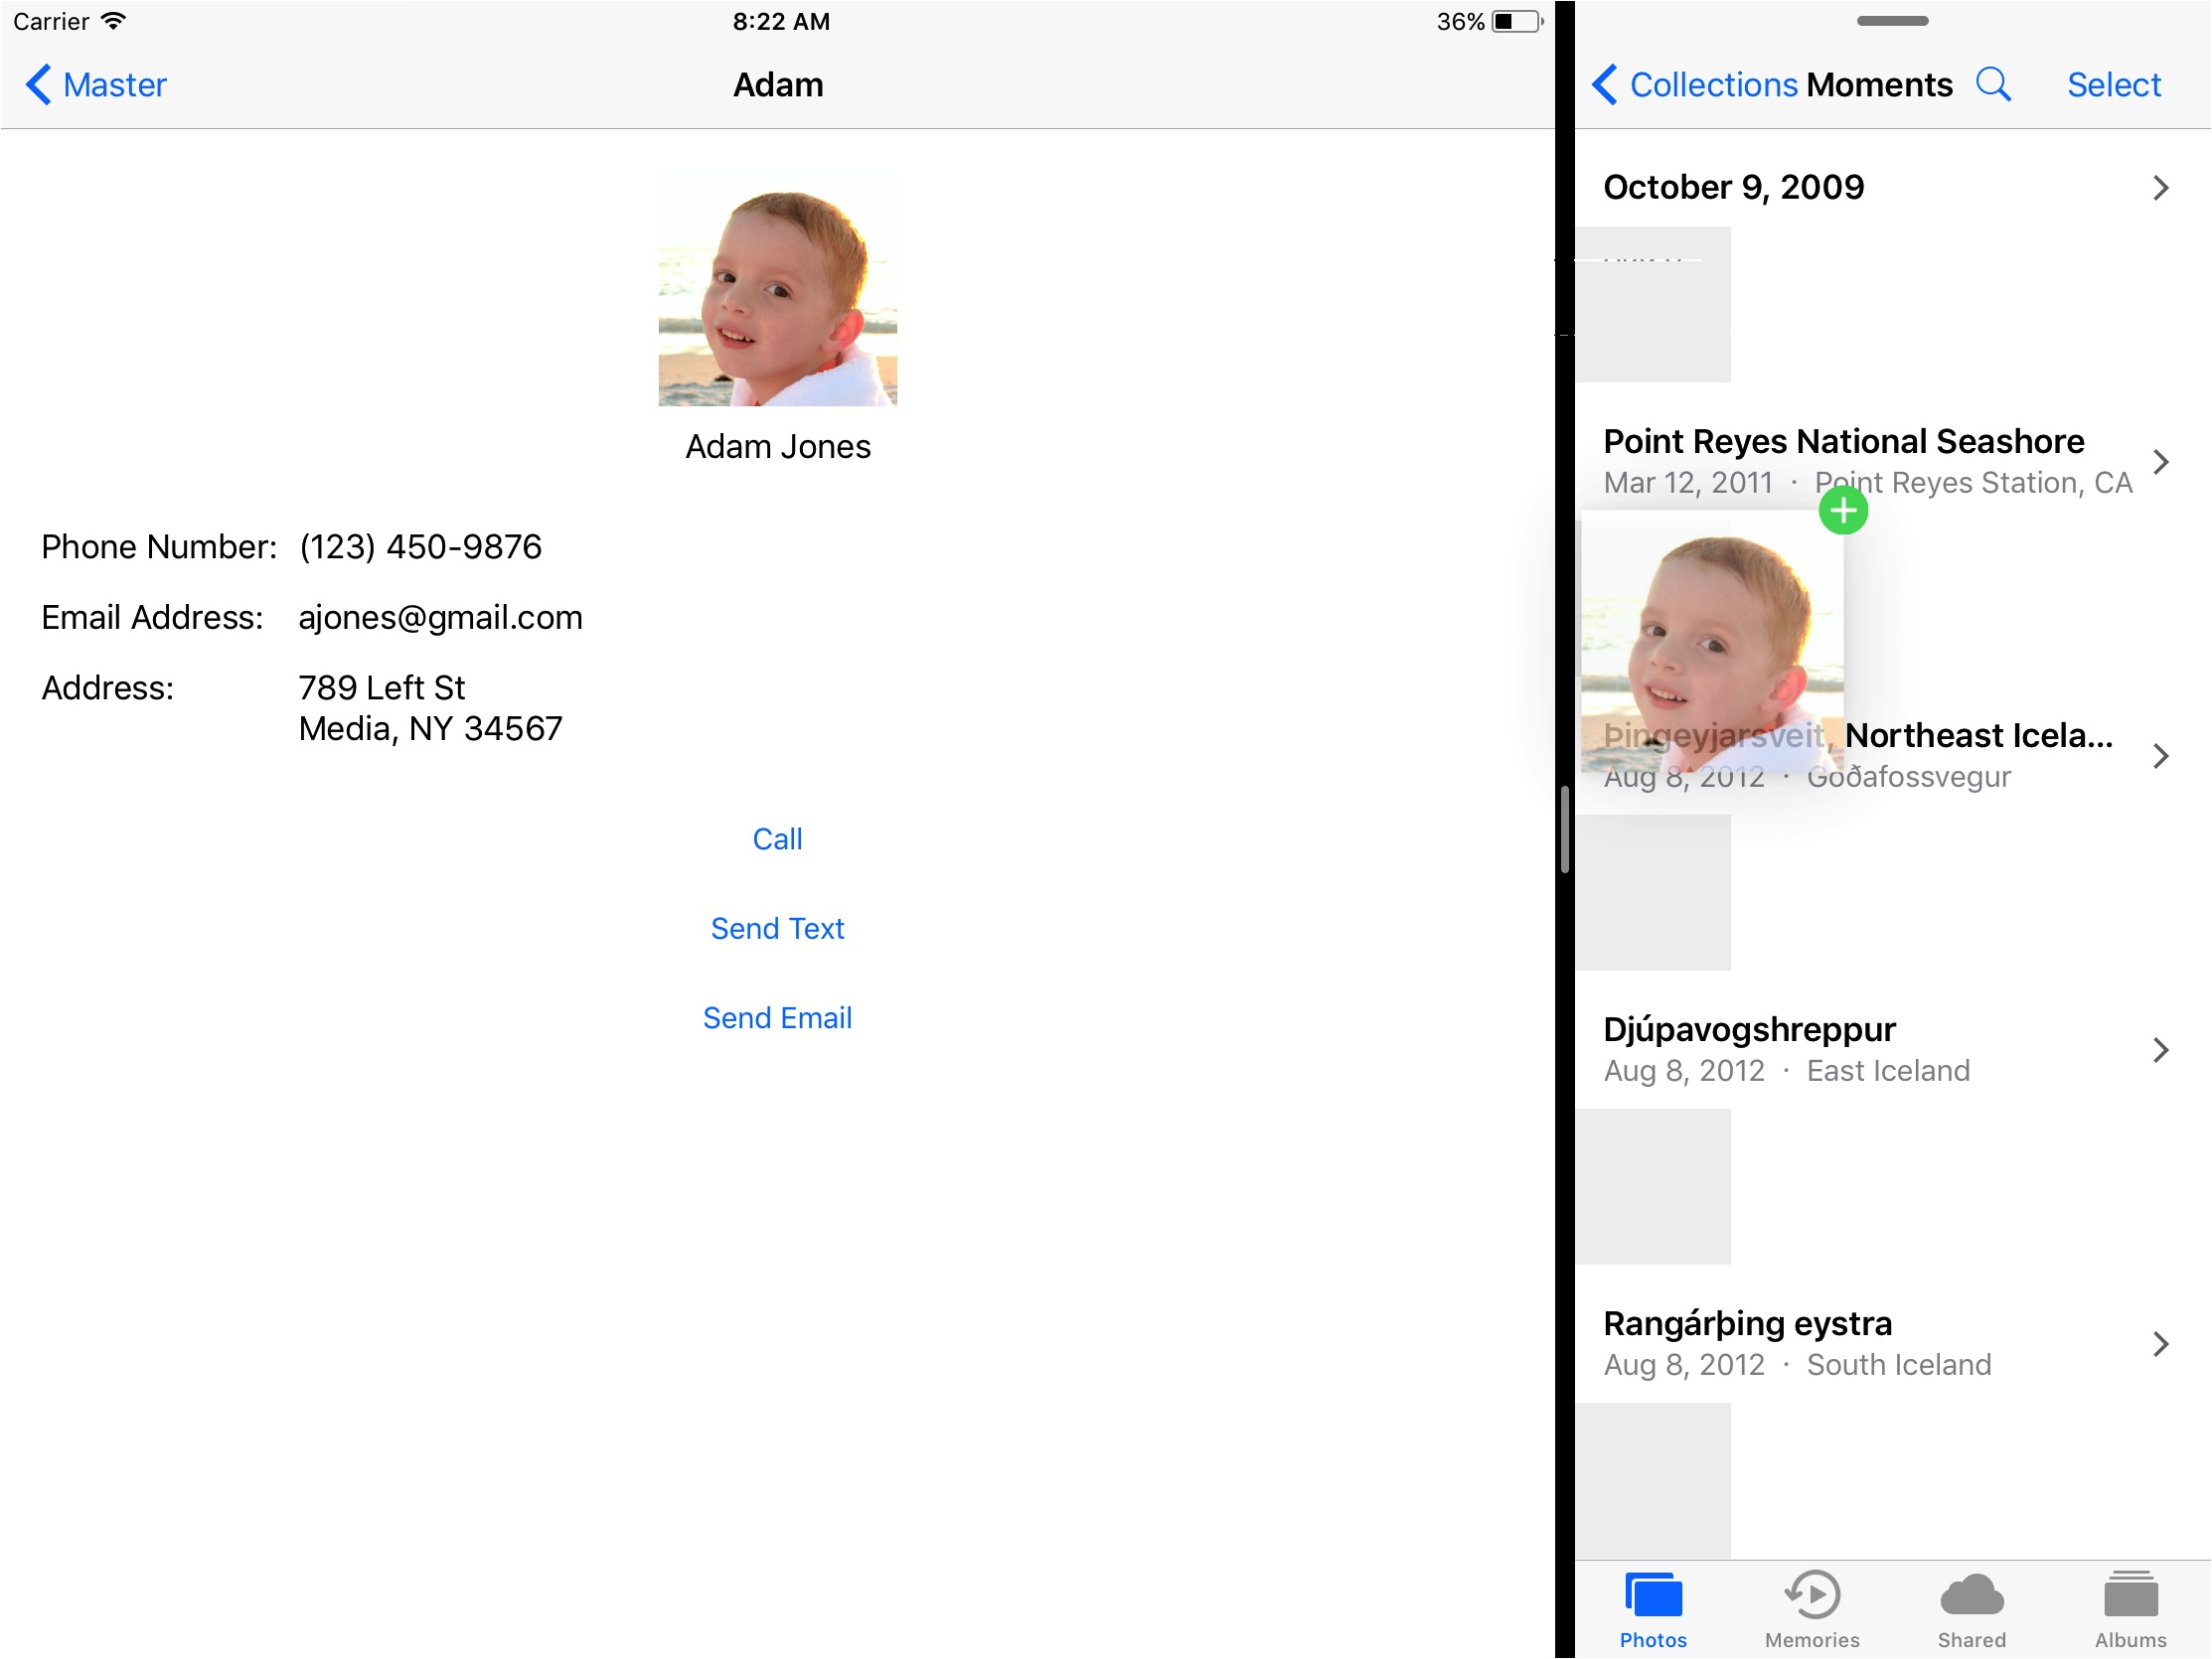
Our final task in this tutorial is to implement Drag and Drop as the source app using a UIView that does not have built in support for Drag and Drop as the UITableView does. For this task we will be focussing, once again, on DetailViewController. When we finish, we will be able to Drag and Drop the UIImage of a contact into the Photos app or the Contacts app to set an image on an existing contact.
The first step is to create a UIDragInteraction for the UIImageView much like we did with the drop interaction. Open DetailViewController and add the following to the bottom of viewDidLoad().
let dragInteraction = UIDragInteraction(delegate: self)
imageView.addInteraction(dragInteraction)
Once again, there is a protocol that we must conform to for the purpose of becoming a delegate for this drag interaction. There is only one method to implement in this delegate and by this point it is probably going to start looking very familiar. In this method we start off by checking to see if the UIImageView contains a UIImage. If it does not, we have nothing to allow the user to drag so we return an empty Array. This will disable dragging. However, if there is a UIImage, we want to allow that UIImage to be dragged. So, we will create an NSItemProvider and pass our image in the initializer. Second, we will create a UIDragItem and pass our NSItemProvider into the initializer. Next, we assign a localObject to the UIDragItem. The localObject is only visible to our app and is not required. We could remove this line but it may become helpful if the app is enhanced to allow a UIImage to be dropped elsewhere. Finally, we return an Array with our instance of UIDragItem.
extension DetailViewController: UIDragInteractionDelegate {
    func dragInteraction(_ interaction: UIDragInteraction, itemsForBeginning session: UIDragSession) -> [UIDragItem] {
        guard let image = imageView.image else {
            return []
        }
        let provider = NSItemProvider(object: image)
        let item = UIDragItem(itemProvider: provider)
        item.localObject = image
        return [item]
    }
}
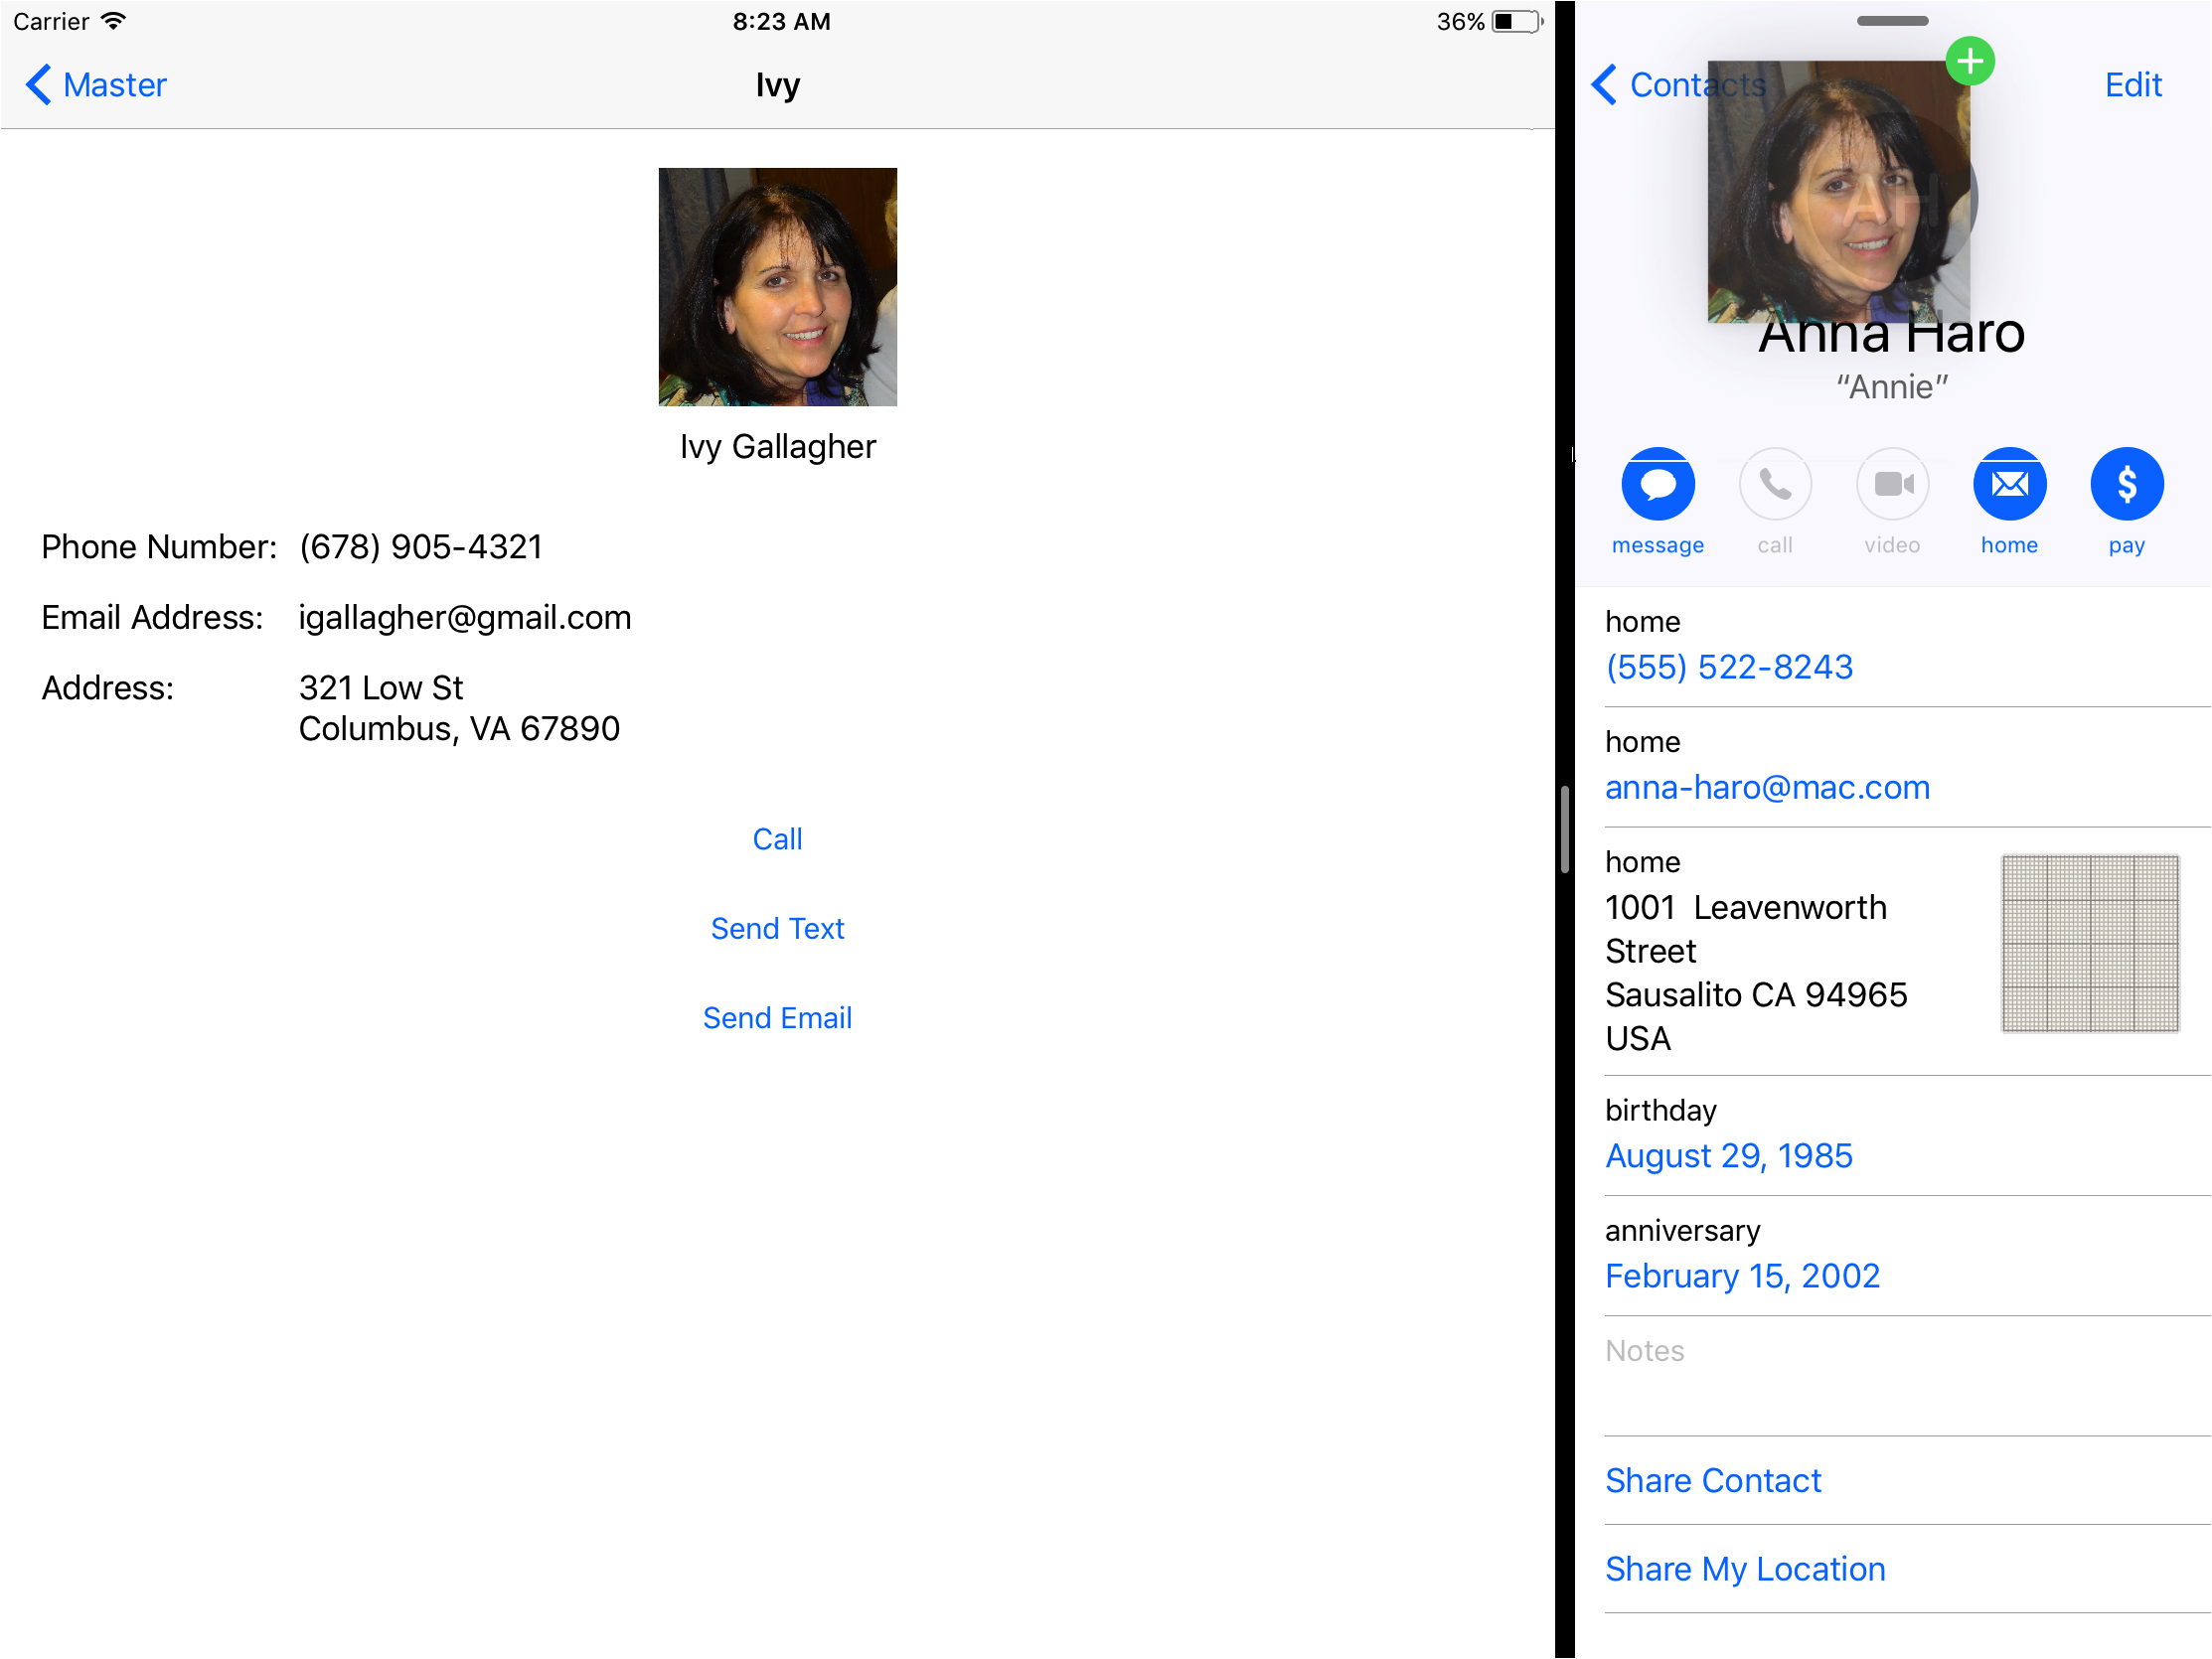
That is all. That quickly we have prepared our UIImageView to support Drag and Drop. Launch the app and open Photos, Contacts, or any other app that will accept a UIImage and use Drag and Drop to move the image.
There are still two odd behaviors when using our app as the Drag and Drop source. First, if you drag a UITableViewCell, you will be allowed to drop the cell on the same UITableView from which the drag started. The result of this will be a second copy of the same contact. Similarly, if we start a Drag and Drop action from the UIImageView, the same UIImageView recognizes this and will allow us to drop the UIImage back where it started. This is not as big of an issue, because the image will be set to a new copy of the same image with which it started. However, it does require the device to do extra work that is completely unnecessary.
To view the final project, including the fixes for the two issues mentioned above, check out the final project.