Unit testing is a best practice, but has been particularly difficult in Android. One library that makes this process much simpler is Robolectric. Integration into your project can be tricky and most methods start with maven and create an Android project from scratch.
I’m a huge fan of living in IDE-land as much as possible, so this approach minimizes command line work and manual project configuration. This tutorial will walk you through using IntelliJ to generate the project and maven integration to make installation of Robolectric simpler.
After creating an Android project with the wizard, you move the source files into a mvn-like structure. Then you configure module settings in IntelliJ. To install Robolectric, you will add a pom file (maven dependency file) into the project. Finally, you will write your first test and run it inside the IDE.
Note: There are other projects and methods out there, but this is what I found to be the most effective way to get up and running. If you’d prefer an all in one solution, check out this project.
Assumptions:
- You are starting a new project.
- You are familiar with the IntelliJ and the Android wizard (CE edition is fine).
- You have installed the Android SDK and configured IntelliJ to use it.
- You have maven installed.
Step 1: Create Android project using IntelliJ wizard
Use the IntelliJ Android wizard to create a Hello World project.
Step 2: Set up directories for maven
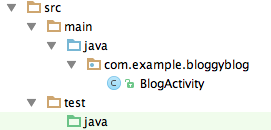
Use IntelliJ or the command line to move files into the following structure:
    src/main/java/com/...
    src/test/java/com/...
After you are done, your project should look something like this (minus the test files):
Note: IntelliJ might not like it when you add subdirectories to the folder marked as source. If you are having trouble setting up the directory structure, open the screen shown in the next step and remove the old source folder before adding new subfolders.
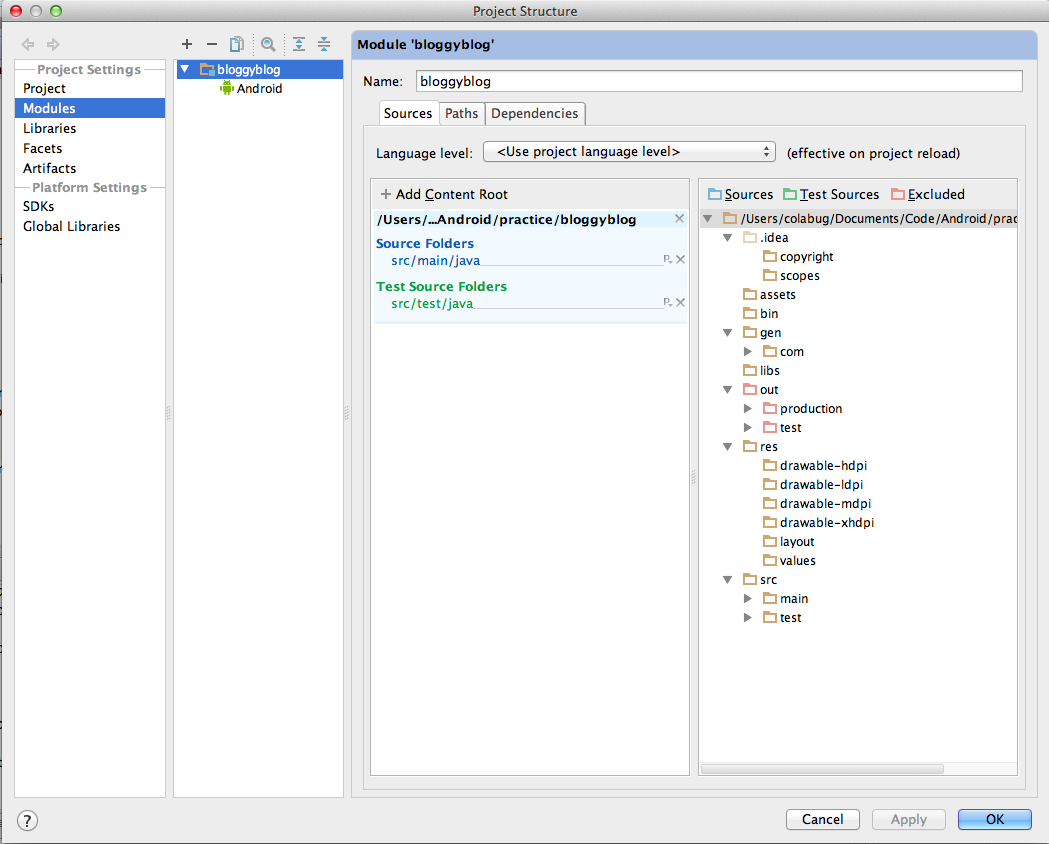
Step 3: Configure IntelliJ source and test folders
Update module settings in IntelliJ to recognize the source and test directories (below: blue folder is source and test folder is green).
Step 4: Install Robolectric
Use this sample pom.xml to get you started. Change the groupId, artifactId, version, and name tags to suit your project. The file should live in the root of the project.
Here is some of my environment set-up (zsh):
# Shell Settings (one long line, broken for view online)
export ANDROID_HOME="/usr/bin/android-sdk-macosx"
export PATH="/usr/bin/android-sdk-macosx/platform-tools:/usr/bin:
             /usr/bin/android-sdk-macosx/tools:
             /usr/local/apache-maven-2.1.2/bin:$PATH"
After updating the pom and environment variables, check the project in IntelliJ to make sure the “Maven Projects” view looks something like this (you may need to refresh):
If you see errors, you may just need to wait for it to finish indexing and importing your libraries. If you have git configured, once you see this dialog, you should be moments away from running your first test.
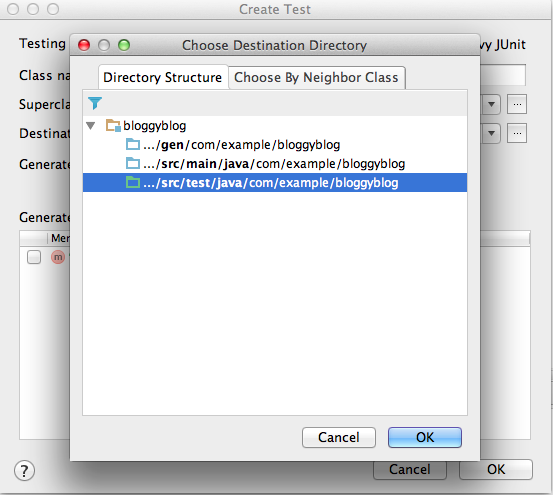
Step 5: Create test
I use the IDE to generate a test. On a Mac, the key combination is Apple+Shift+T.
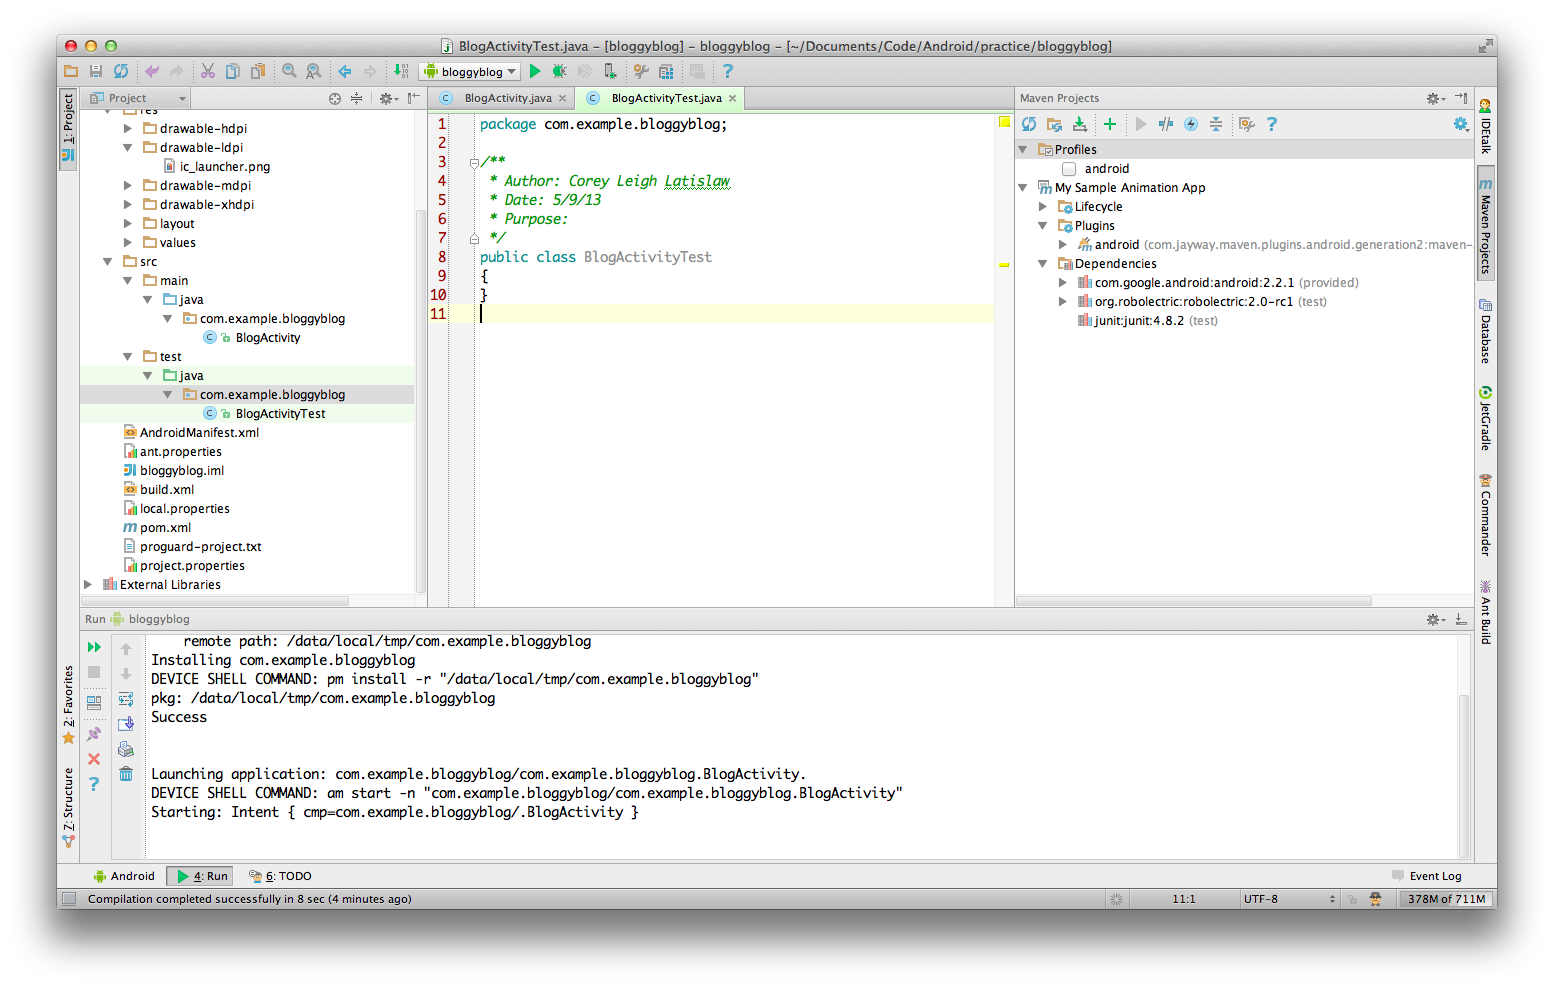
Step 6: Write test & run
Right click on the test file name to run the test or use the appropriate keyboard shortcut.
If you are seeing issues similar to this, rebuild your project a few times to convince IntelliJ to generate the R.java file (which links to all your applications resources) and/or run “mvn install” from the command line.
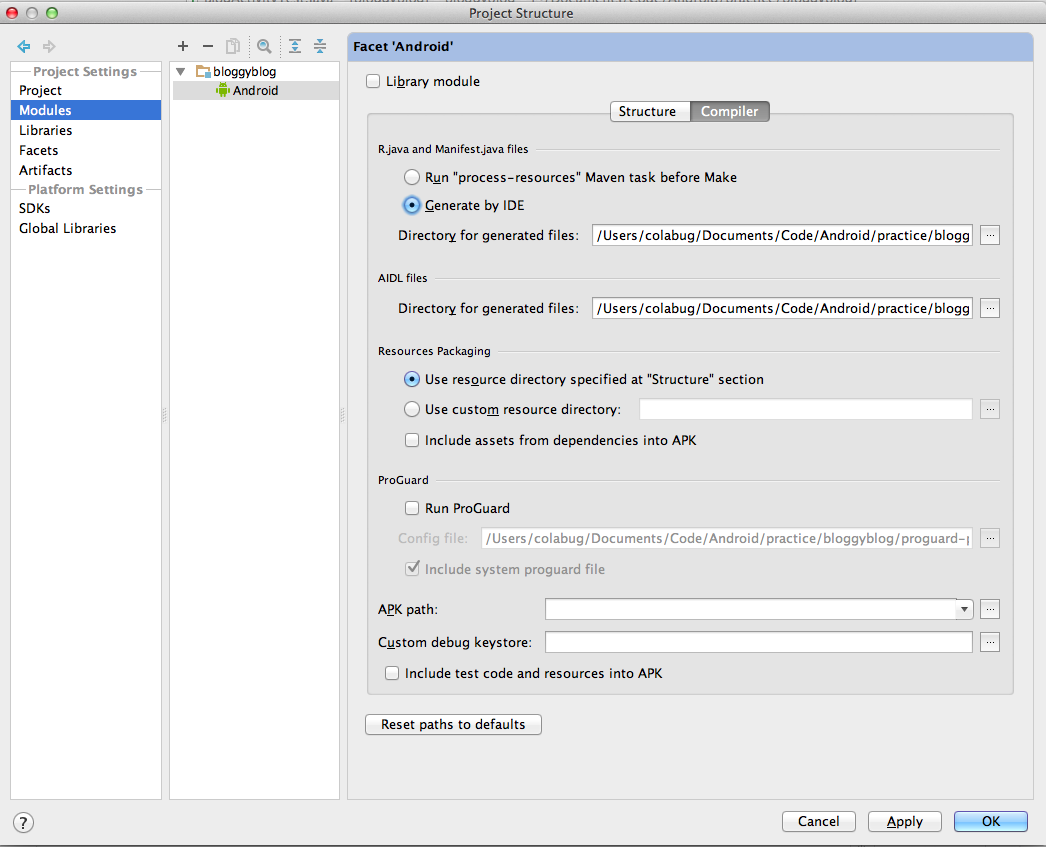
If you are still having issues, update your Android facet here:
Success!
Optional Step 7: Create a run config for all tests
You could run each test individually as you work with new classes, however it should be a common task to run all the unit tests (e.g. prior to commit). I create a run configuration for the whole project:
Next Steps
Now that you’ve got it integrated into your project, why not try adding a few tests? Check out the next blog in the series that shows you how to write test for your project.