
If you have played with iOS 11 either on a simulator or on a real device, you have probably noticed that most of the first party apps, such as Mail and Settings, use large titles in the navigation bar. We are going to look at how to implement the same navigation bar behavior in our apps. Unsurprisingly, Apple has made this very easy for us. But first, if you have not seen this look yet, here are screen shots of the settings app.

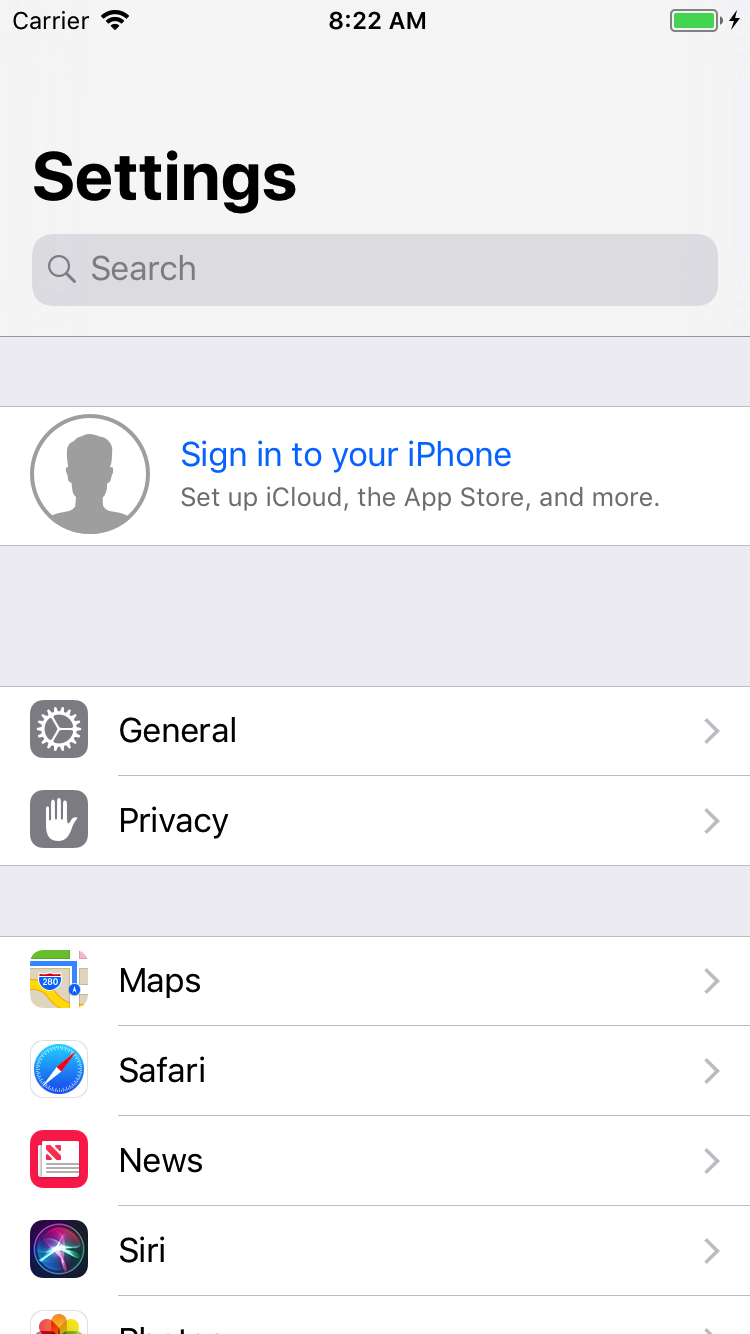

The first screen shot shows how the app looks when it is first launched. It is probably not too difficult to recognize the change here. The navigation bar appears much larger than it had in previous versions of iOS and the title of this screen is large and to the left of the screen, instead of centered at the top of the screen as it was before.
The second screen shot shows the look of the app if you pull down on the screen. The screen looks mostly the same except the search bar is now also visible.
The third screen shot shows the look of the app once the user begins scrolling. The search bar is hidden, the navigation bar shrinks back down to the size to which we are accustomed and the title is back in the center of the navigation bar.
Guidelines
Before we dive into how to implement the large titles, it is important to think about when to use large titles. Using large titles is a convenient way of making it very obvious to the user where he or she is in the app. However, it also takes a lot of extra screen real estate. Because of the extra space taken, we need to be sure that it is not over used.
A general rule of thumb is that large titles should be used on a UINavigationController‘s rootViewController only. After that, each screen would have the standard sized UINavigationBar. Although, there are exceptions to every rule. Apple’s own Mail app uses large titles on the first two screens. Once the user drills down into a specific email, though, the navigation bar shrinks down.
It is up to you to decide where it should be used in your app. Just remember that over use could negatively effect the user’s experience.
Large Titles
To demonstrate this implementation, I will use SiriNotes, an app that was previously written for a blog post on SiriKit. The starter code can be found on GitHub.
The first thing we are going to do is open MasterViewController and in viewDidLoad() add the following line of code at the bottom.
navigationController?.navigationBar.prefersLargeTitles = true
That is all you need. Build and run and you will see the UINavgiagionBars with large text. There is, of course, a lot more customization that can, and should, be done.
Customization
At this point, if you select an item from the list, the details screen will also have a large title. I think this is a bit of over-use so we want to remove this from the details view.
Limiting Large Title Usage
To remove large text from the details view, open DetailViewController and add the following line of code at the bottom of configureView().
navigationItem.largeTitleDisplayMode = .never
This will make the UINavigationBar display in the standard size, regardless of how it looked on the previous screen. There are two other options for largeTitleDisplayMode.
automatic– Keep theUINavigationBarin whichever state it was for the previous screen.always– Show theUINavigationBarwith large titles regardless of which state it was in for the previous screen.
There is one important note to make with regard to the largeTitleDisplayMode property. If the UINavigationController‘s UINavigationBar does not have the prefersLargeTitles property set to true, as we did in MasterViewController, then the largeTitleDisplayMode property will have no effect at all.
Searching and Refreshing
Searching and refreshing data inside of a UINavigationController are very common tasks. Many screens have a UISearchController and a UIRefreshControl that hide under the navigation bar. If iOS did not help us out, these are two controls that could get tricky to implement because of the UINavigationBar‘s changing size. However, iOS does help us and these two common controls are still very easy to use.
In MasterViewController we need to create a UISearchController. Add this property at the top of the class.
let searchController = UISearchController(searchResultsController: nil)
Next, we need to assign the refresh controller and search bar. To do so, move down to viewDidLoad() and add the following two lines of code at the bottom.
refreshControl = UIRefreshControl()
navigationItem.searchController = searchController
Work At Chariot
If you value continual learning, a culture of flexibility and trust, and being surrounded by colleagues who are curious and love to share what they’re learning (with articles like this one, for example!) we encourage you to join our team. Many positions are remote — browse open positions, benefits, and learn more about our interview process below.
Run the app now and notice that as you pull down two things will happen. First, the search bar will appear. Second, as you continue to pull down, the refresh controller will appear above the large title. Obviously, with the code that we added here, we do not actually have searching or refreshing implemented. However, with the easy integration of large titles with searching and refreshing, there is nothing new about implementing those two features.
Another customized behavior that you may want with the search bar is to always keep it visible, even when scrolling. Again, this is very easy to do. Add the following line of code at the bottom of viewDidLoad.
navigationItem.hidesSearchBarWhenScrolling = false
Run the app now, and see that iOS, again, handles all of the animation as we scroll around while always keeping the search bar visible.
Customizing Large Title Text
We also have the ability to set attributes on the large title via the largeTitleTextAttributes property. Suppose, we want the large text to be blue and to use the Papyrus font with the size set to 30. To do so, simply add the following line of code at the bottom of viewDidLoad.
navigationController?.navigationBar.largeTitleTextAttributes =
    [NSAttributedStringKey.foregroundColor: UIColor.blue,
     NSAttributedStringKey.font: UIFont(name: "Papyrus", size: 30) ??
                                 UIFont.systemFont(ofSize: 30)]
This is just like setting attributes on an NSAttributedString. Now, when we run the app we see our custom color and font for the large title.
Appearance API
The two new properties for the UINavigationBar that we have looked at are compatible with the appearance API. So, if we want all of our UINavigationBars to look the same way, we could remove the assignment of prefersLargeTitles and largeTitleTextAttributes from MasterViewController. We would then set them up wherever we are configuring our global appearance settings.
For example, you could add the following code into AppDelegate‘s application(_:didFinishLaunchingWithOptions:) just before the return statement.
UINavigationBar.appearance().prefersLargeTitles = true
UINavigationBar.appearance().largeTitleTextAttributes =
    [NSAttributedStringKey.foregroundColor: UIColor.blue,
     NSAttributedStringKey.font: UIFont(name: "Papyrus", size: 30) ??
                                 UIFont.systemFont(ofSize: 30)]
There you have it. You can now implement the new, iOS 11 style large title navigation bars in your app. And, you can do it without much work.

The final project can be found on GitHub if you would like to take a look. As always, if you have any comments or questions I would love to hear from you in the comments below or on Twitter (@beyerss).